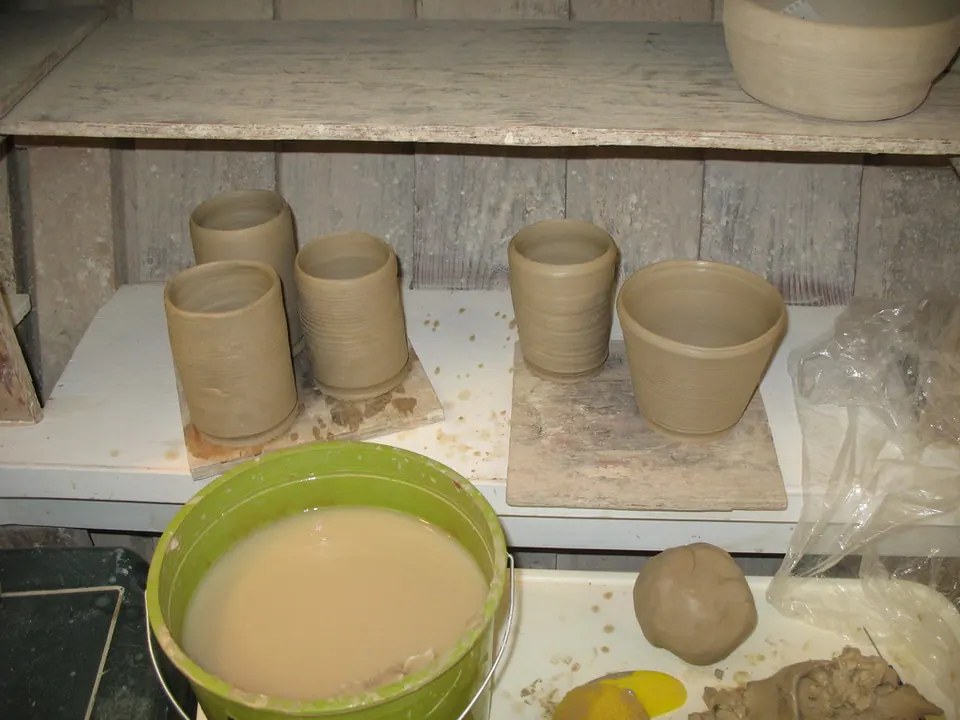
- Only unfired clay can be reclaimed. Once a piece has been bisque fired, it is ceramic and will not soften in water.
- Let scraps go bone dry first, then drop them into water. Dry clay slakes (breaks down) far faster and more evenly than leather-hard chunks.
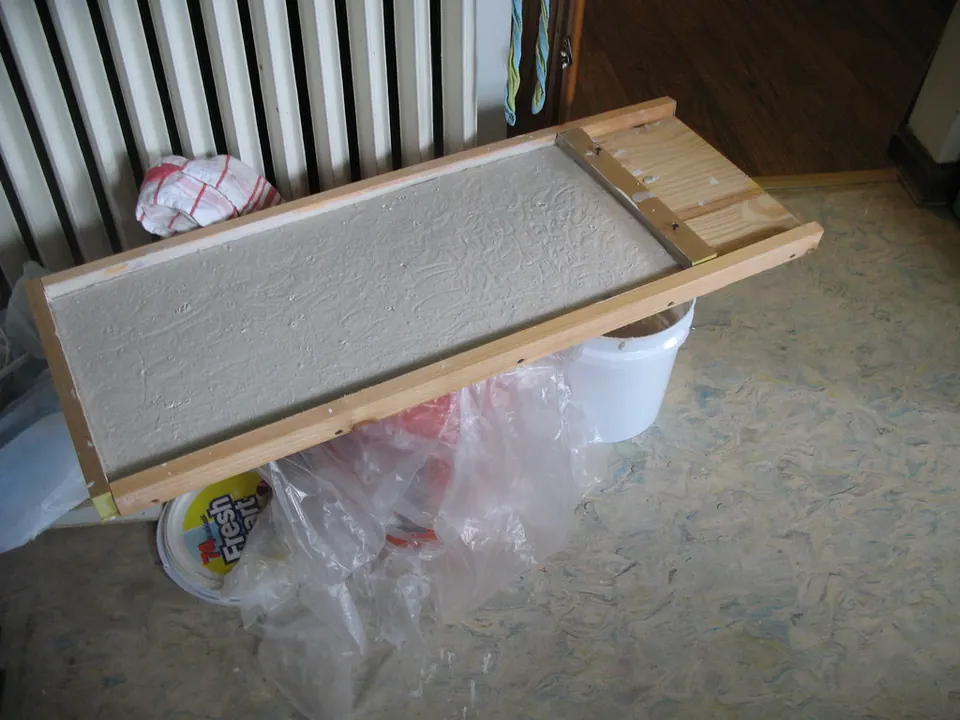
- Dry the slurry on a plaster slab, canvas or in cloth bags until it stops sticking to your hand, then wedge it well before you use it.
- Keep clay types and firing ranges in separate buckets, and never pour clay water down the sink without a trap.
- Handle dry scraps gently and clean up wet. Dry clay dust contains crystalline silica, so avoid stirring up dust.
Learning how to reclaim clay saves money and keeps a home studio tidy: every trimming, failed cylinder and cracked greenware piece can go back on the wheel. The method is simple. You break unfired clay down in water, drain off the extra, dry the slurry to a workable consistency and wedge it until it is even again.
This guide walks through each step, the gear that makes it easier in a small space, and the mistakes that leave you with lumpy, airy or contaminated clay. It covers wheel-throwing and hand-building clay. Air-dry clay follows a similar idea, with a few limits noted below.
What clay can you reclaim, and what can't you?
The rule is short: if it has not been fired, it can be reclaimed. Wet trimmings, slop from the splash pan, leather-hard pieces you gave up on and bone-dry greenware all slake back down in water. Bisqueware cannot. A bisque firing turns clay into ceramic, so it stays hard in water no matter how long it soaks.
Reclaim at a glance
| Material | Can you reclaim it? | Notes |
|---|---|---|
| Wet trimmings and throwing slop | ✓ Yes | Easiest to reclaim; let them dry first for a faster slake |
| Leather-hard pieces | ✓ Yes | Break into small pieces or let them go bone dry |
| Bone-dry greenware | ✓ Yes | Slakes fastest; handle gently because it makes dust |
| Glazed but unfired pieces | ~ Usually not worth it | Glaze materials contaminate the clay; keep them out of the reclaim bucket |
| Bisque-fired pieces | ✗ No | Already ceramic; it will not soften in water |
| Air-dry clay | ~ Sometimes | Many air-dry clays rehydrate, but check the maker; some with binders or fibers never return to the same texture |
| Polymer clay | ✗ No | Oil- and PVC-based, not water-based |
Why bisqueware can't be reclaimed
Orton self-supporting cone temperatures at the medium rate (108 °F/hr). Common bisque firings reach these temperatures and turn clay into ceramic.
Bisque is often fired around cone 06 to 04, so even a light firing takes a pot well past the point of no return. See the Orton cone chart for every cone and heating rate, and bisque vs glaze firing for what happens at each stage.
Keep clay bodies separate
Reclaim each clay body on its own. A cone 6 stoneware mixed with a cone 04 earthenware gives you a clay with an unknown firing range, color and shrinkage. Label buckets with the clay name and cone, and keep red and white clays apart if you care about color. If you are not sure which clay a scrap came from, use it for test tiles or hand-building practice instead.
How to reclaim clay step by step
This is the slake-and-dry method most home potters use. It needs two buckets with lids, a drying surface and a wedging surface. Plan on a few days from bucket to wedged clay, depending on how humid your space is.
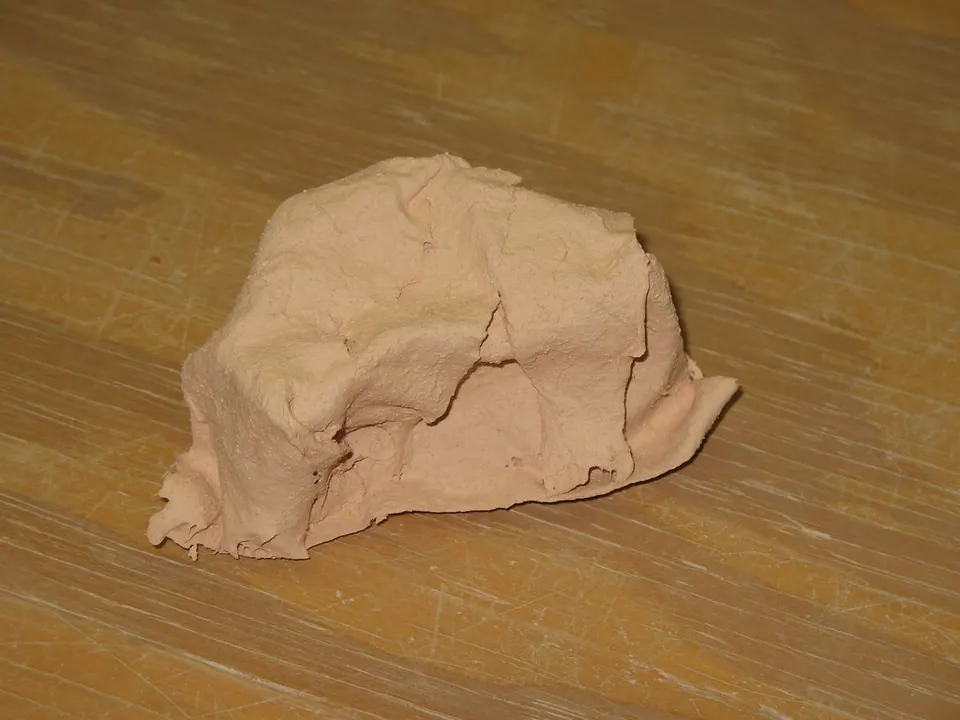
- Collect scraps and let them dry
Gather trimmings, slop and failed pieces in a shallow tray or open box. Let them go bone dry, and break larger pieces into walnut-sized chunks while they are still leather-hard. Bone-dry clay slakes evenly; damp lumps stay hard in the middle for days. Handle dry scraps gently and keep them in a covered bin so they do not shed dust.
- Slake in water
Fill a bucket about one third with water and drop the dry scraps in, sprinkling rather than dumping so water reaches every piece. Add scraps until they sit just below the waterline. Leave the bucket covered for a day or two. The clay breaks down on its own; you do not need to stir it right away.
- Pour off the clear water
Once the clay has settled into a soft mass at the bottom, pour or scoop the clear water off the top. Reuse that water for your next slake instead of sending it down a drain. A clay settler can speed this up in rinse buckets.
- Mix the slurry
Stir the remaining slurry to an even, thick yogurt consistency. A paint mixer on a drill works for large batches; a sturdy stick or gloved hands work for a small bucket. Pick out bits of debris, sponge fibers or stray tools as you go.
- Dry it on plaster or canvas
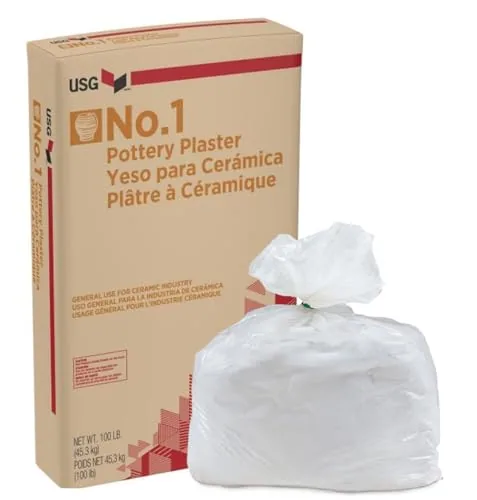
Spread the slurry on a plaster slab, a plaster-lined tray or heavy canvas in a layer a few inches thick. Plaster pulls water out fastest. You can cast your own slab from pottery plaster: the USG listing gives a mix of 70 parts water to 100 parts plaster by weight. Canvas-covered boards work too, just more slowly.
- Flip and check
After a few hours to a day, flip the slab of clay so the top dries as well. It is ready when you can press it and your hand comes away clean, and when it no longer smears on the surface below. If it gets too firm at the edges, fold the edges into the middle and cover it with plastic for an hour to even out.
- Wedge thoroughly
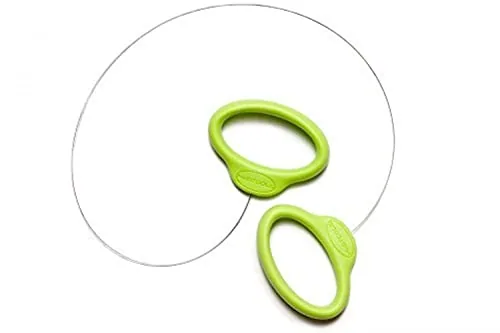
Reclaim is often uneven: wetter in the center, firmer at the edges, with trapped air. Wedge it on a wedging board or a canvas-covered table until a cut through the middle shows no air pockets, streaks or lumps. Use ram's head or spiral wedging, and cut the block with a wire every so often to check.
- Bag, label and rest
Wrap the clay tightly in plastic, label it with the clay body and the date, and let it rest for a few days if you can. Many potters find aged reclaim throws more smoothly than fresh reclaim. Wedge it again briefly before you throw.
Other ways to reclaim clay
The slake-and-dry method is the standard, but there are a few shortcuts for small amounts.
- Bag reclaim. For leather-hard scraps that are still soft, spray them with water, seal them in a heavy plastic bag for a day or two, then knead and wedge. This works for a pound or two, not a bucket.
- Wet-and-dry blending. Mix very soft reclaim with firm, fresh clay from a new bag and wedge them together. This evens out moisture without waiting for the slurry to dry.
- Pillowcase or cloth bag drying. Pour slurry into a sturdy cotton bag and hang it over a bucket or lay it on a rack. Water wicks out through the fabric. It takes longer than plaster but needs no slab.
- Pug mill. A pug mill mixes and de-airs clay in one pass. It is a big purchase and is worth it mainly for busy studios; most home potters wedge by hand.
Can you reclaim air-dry clay?
Often, yes, but results vary by brand. Air-dry clays that are mostly natural earth clay usually rehydrate if you break dried pieces small and wrap them with a damp cloth. Clays with paper fiber, glue or other binders may come back stringy or lose strength. Check what the maker says, and never mix air-dry clay into a reclaim bucket for kiln clay. For more on no-kiln materials, see no-kiln pottery and the best air-dry clay.
Gear that makes reclaiming easier
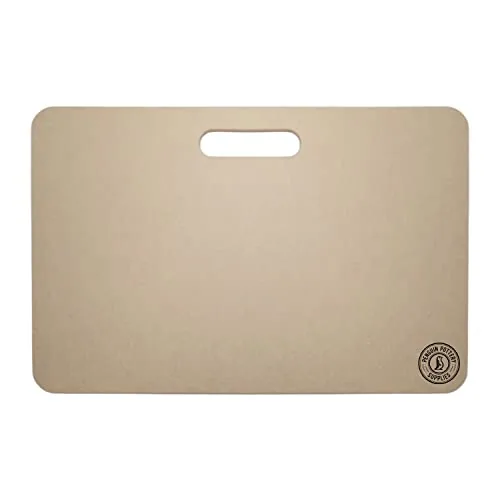
You can reclaim with two buckets and an old towel. A few pieces of gear make the process cleaner and faster, especially indoors. A dedicated wedging board gives you a sturdy, non-slip surface that you can keep clay-only, so reclaim stays clean.
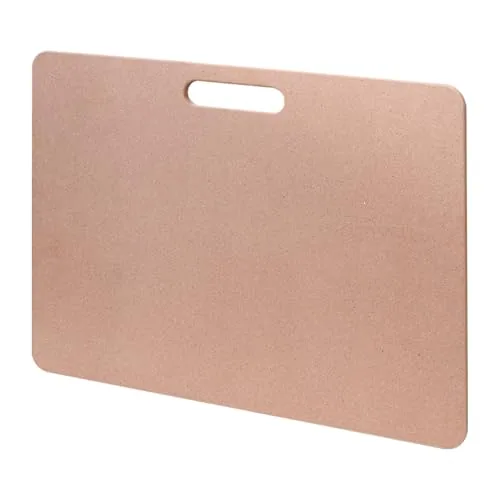
Penguin Pottery Wedging Board, 12x18"
- Size
- 12" x 18"
- Material
- Medex MDF
- Handle
- One built-in
Best for Wedging on a kitchen table
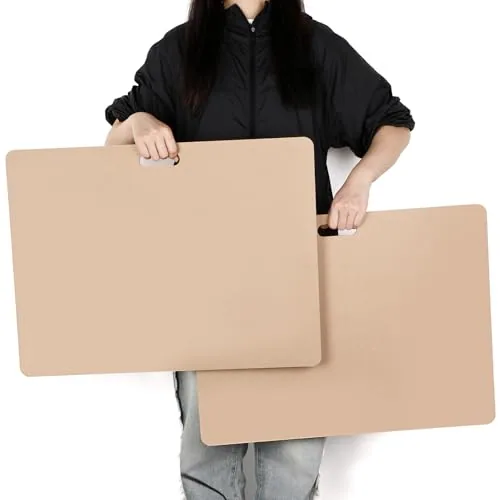
LEOLIO Clay Wedging Board, 13x17"
- Size
- 13 x 17 inches
- Material
- HDF
- Thickness
- 1/2"
Best for Portable work surface
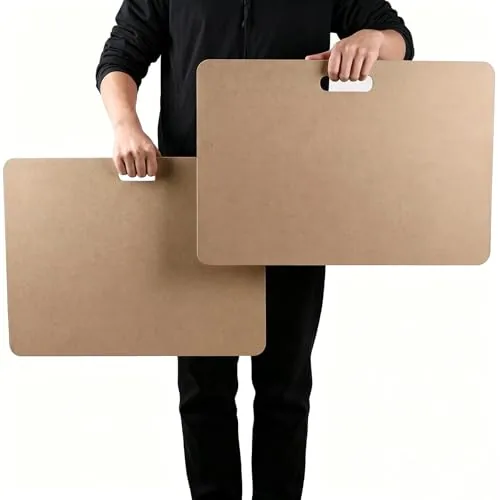
Kosiz MDF Wedging Boards, 24x18", 2 pc
- Size
- 24 x 18 inches
- Pieces
- 2
- Material
- MDF
Best for Moving work between spaces
Swanaryo Wedging Boards, 12x18", 2 pc
- Size
- 11.7 x 17.6 inch
- Pieces
- 2
- Material
- MDF
Best for Small tables and shared studios
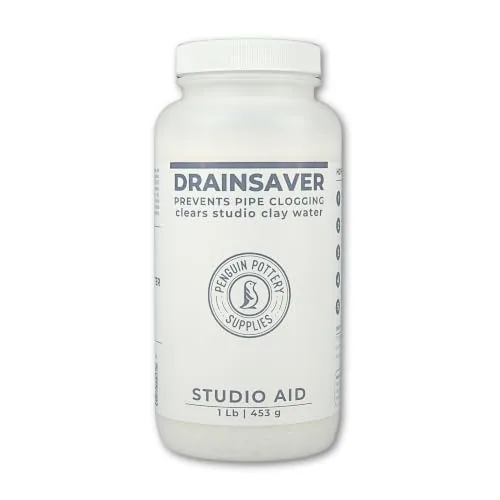
If you rinse tools and hands in a sink, a sediment trap catches clay before it reaches your pipes. Settler powder is the alternative when you rinse in buckets instead.
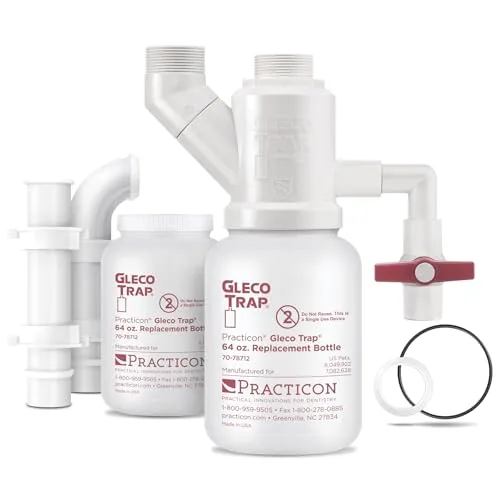
Gleco Clay & Plaster Sink Trap Kit, 64 oz
- Capacity
- 64 oz
- Type
- Under-sink sediment trap
Best for Rinsing clay in a home sink
Penguin Pottery DrainSaver Clay Settler, 1 lb
- Size
- 1 lb
- Dose
- 1 tsp per 1.5 gallons
- Settling time
- About 40 minutes
Best for Bucket rinsing without a sink trap
| Product | Size | Material | Thickness |
|---|---|---|---|
| Penguin Pottery Wedging Board, 12x18" | 12" x 18" | Medex MDF | — |
| LEOLIO Clay Wedging Board, 13x17" | 13 x 17 inches | HDF | 1/2" |
| Kosiz MDF Wedging Boards, 24x18", 2 pc | 24 x 18 inches | MDF | 9mm |
| Swanaryo Wedging Boards, 12x18", 2 pc | 11.7 x 17.6 inch | MDF | 9mm |
Specs as listed by the maker or seller; check the listing before you buy.
For a full list of what a starter studio needs, run through the home studio checklist or read how to set up a home pottery studio.
Keep reclaim safe and the drain clear
Reclaiming is wet work, which is good: wet clay does not make dust. The risky moments are handling bone-dry scraps and cleaning up dried slurry. Dry clay contains crystalline silica, and OSHA sets a permissible exposure limit for respirable crystalline silica of 50 µg/m³ averaged over an 8-hour day.
- Never pour slurry or clay rinse water down a sink, toilet or floor drain. Clay settles in pipes and hardens. Settle it in a bucket and reuse the water, or install a sediment trap.
- Dispose of unusable clay sediment in the trash once it has dried, not in the drain. Check your local rules for anything mixed with glaze materials.
- Keep lids on reclaim buckets. Standing water attracts kids and pets, and buckets can be a drowning hazard for small children.
- Mold on stored reclaim is common and usually harmless to the clay, but some people react to it. Wear gloves if it bothers you and keep the studio ventilated.
For the full safety picture, from respirators to kiln ventilation, read pottery studio safety and browse studio setup and safety gear.
Common reclaim mistakes to avoid
- Slaking wet chunks. Damp clay slakes slowly and unevenly. Let scraps dry fully first.
- Mixing clay bodies. Stoneware, earthenware and porcelain have different firing ranges and shrinkage. Keep one bucket per clay.
- Letting glaze or debris in. Glaze drips, kiln wash flakes, sponge bits and wood splinters cause defects later. Keep the reclaim bucket for clean scraps.
- Under-wedging. Reclaim almost always has air pockets and moisture differences. Cut and check before you throw.
- Drying too thick. A slurry layer much deeper than a few inches stays wet in the middle for days. Spread it thinner or flip more often.
- Reclaiming in the sink. Even small amounts of clay add up in a trap or pipe. Use buckets.
- Expecting reclaim to fix cracking. Reclaim behaves like the original clay. If pieces crack, the cause is usually drying or joining; see why pottery cracks.
When reclaiming is worth it, and when to buy fresh
Reclaiming pays off most when you throw on the wheel, where trimming and practice cylinders generate a lot of scrap. A beginner can easily turn a bag of clay into more trimmings than finished pots, so a reclaim routine stretches every bag you buy.
Buying fresh clay makes more sense when you only make a few pieces a month, when you need a predictable body for a commission or a set, or when you do not have space for buckets and drying. Many potters do both: they throw with fresh clay and use reclaim for practice, test tiles and hand-building.
If you are choosing a clay to start with, compare bodies in the best clay for the pottery wheel and the clay category. Picking one cone 6 stoneware and sticking with it makes reclaiming far simpler.
Home studio checklist by stageAn interactive home pottery studio checklist in four stages: no-kiln start, first wheel, home kiln and small…