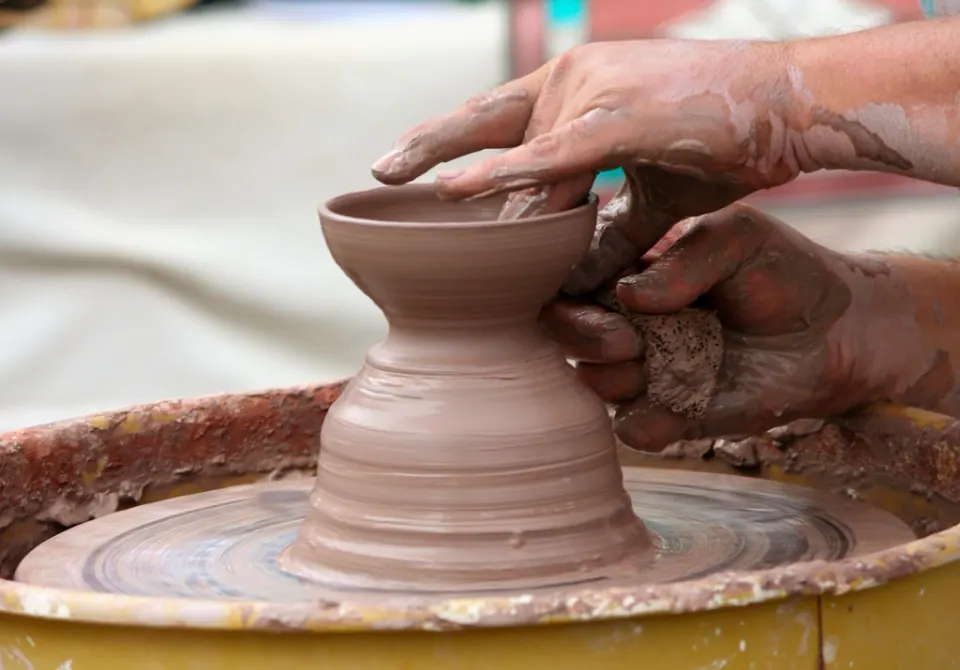
- Learning how to use a pottery wheel comes down to four skills, in order: wedging, centering, opening and pulling. Trimming comes a day later.
- Center at a fast speed with braced arms; pull walls at a medium-slow speed; trim at a medium speed on leather-hard clay.
- Use as little water as you can get away with. Pooled water in the bottom of a pot is a common cause of cracked bases.
- A small, soft ball of clay (about a pound) is easier to center than a big one. Size up once centering feels routine.
A pottery wheel turns a lump of clay into a symmetrical form, but only if the clay runs true at the center of the wheel head first. Almost every beginner problem, from wobbling walls to a pot that tears off at the base, traces back to centering or to too much water.
This guide works for any electric wheel, from a tabletop model to a full-size studio wheel. Where a wheel’s specs matter, such as speed range or centering capacity, the figures are the ones the maker lists.
Before you start: set up the pottery wheel
- Height and seat. Sit so your forearms can rest on your thighs and your elbows can lock against your body. Many potters sit slightly higher than the wheel head.
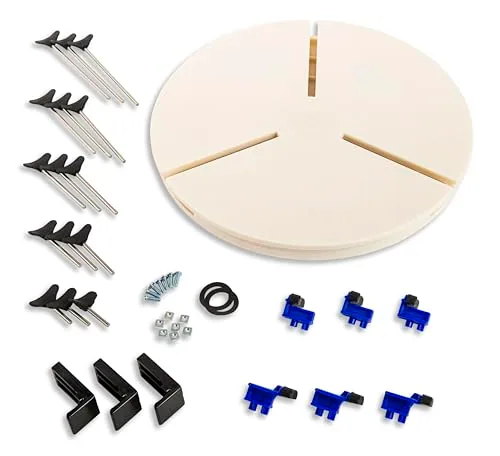
- Splash pan on, bat on. A bat lets you lift a soft pot off without distorting it. Check that the bat pins match the pin spacing of your wheel head.
- A bucket of water and a sponge within reach, plus a needle tool, a wooden or polymer rib and a cut-off wire.
- Direction. Most wheels in the US spin counterclockwise, and right-handed potters work on the right side of the wheel head (around 3 o’clock as you look down). Reversible wheels let left-handers work the other way.

Speedball 12" Universal Plastic Pottery Bat, 2-Pack
- Size
- 12 Inch Round
- Count
- Pack of 2
- Material
- Injection-molded plastic
Best for Studios and shared wheels
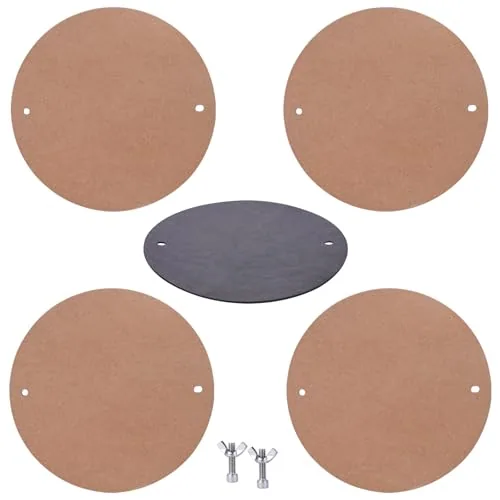
LEOLIO 12" HDF Pottery Wheel Bats, 4-Pack
- Size
- 12 inches
- Count
- 4
- Thickness
- 1/3 inch
Best for Throwing several pieces in a session
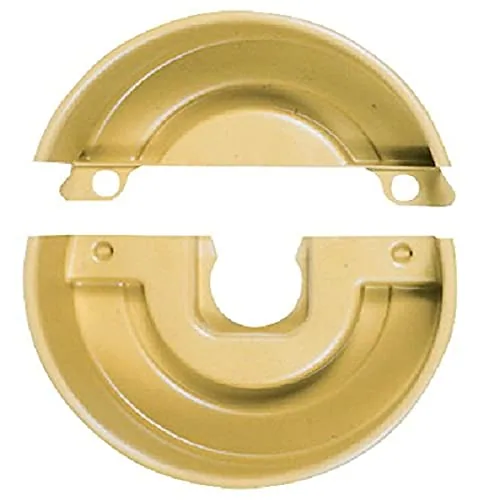
Brent Polyethylene Splash Pan, Yellow
- Size
- 17-1/2 x 4-1/2 Inches
- Fits
- All Brent Potters Wheels
- Construction
- Two-piece, snaps together
Best for Brent wheel owners
How to use a pottery wheel in ten steps
- Wedge the clay
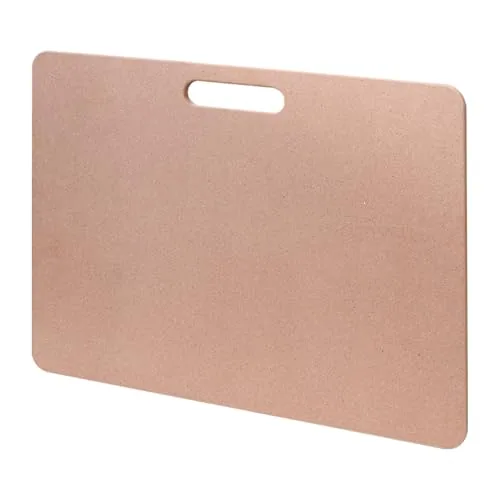
Wedging pushes out air pockets and evens the moisture so the clay behaves the same all the way through. Use ram’s head or spiral wedging for 50 to 100 turns on a canvas or MDF board, then pat the clay into a cone or ball.
- Attach the clay to the wheel head
Throw or slap the ball down hard, close to the center of a dry bat or wheel head. A firm bond stops it from sliding off when you push. Pat it into a rough dome while the wheel turns slowly.
- Center the clay
Run the wheel fast. Wet the clay lightly, brace your elbows against your thighs and push with the heel of your left hand toward the center while your right hand steadies the top. Coning helps: squeeze the clay up into a tall cone, then press it back down, two or three times. The clay is centered when your hands feel no bump as it spins.
- Find the center and open
Slow to a medium speed. Press your thumbs or fingers straight down at the exact center, stopping about a quarter to half an inch from the bottom. Check the floor thickness with a needle tool: push it straight down until it touches the bat and pinch the clay at the surface to read the depth.
- Widen and compress the floor
Draw the opening outward to the width you want the base to be, then press the floor down with your fingers or a rib. Compressing the floor lines up the clay particles and is one of the best defenses against S-shaped cracks in the base.
- Pull up the walls
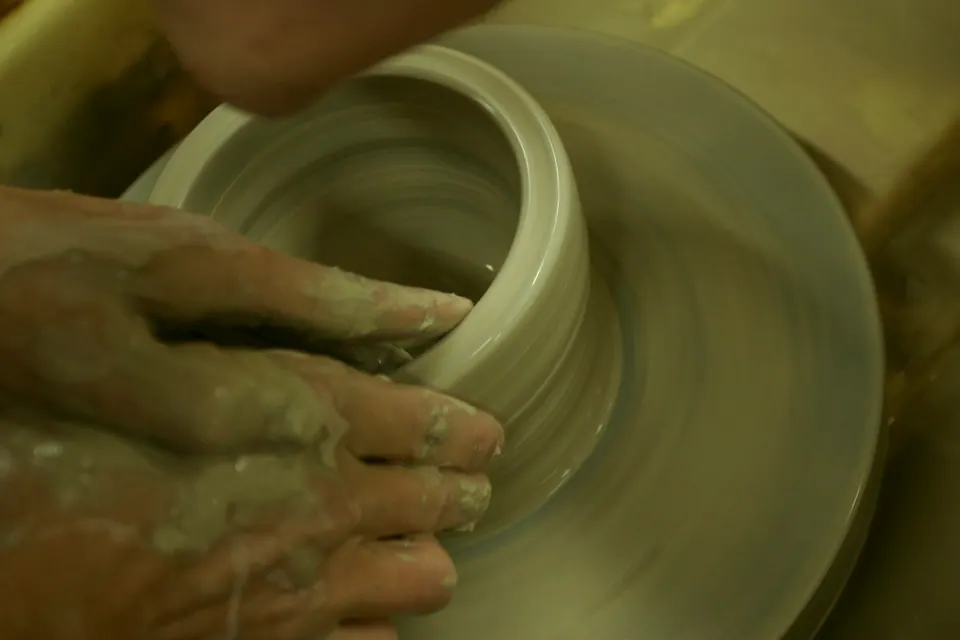
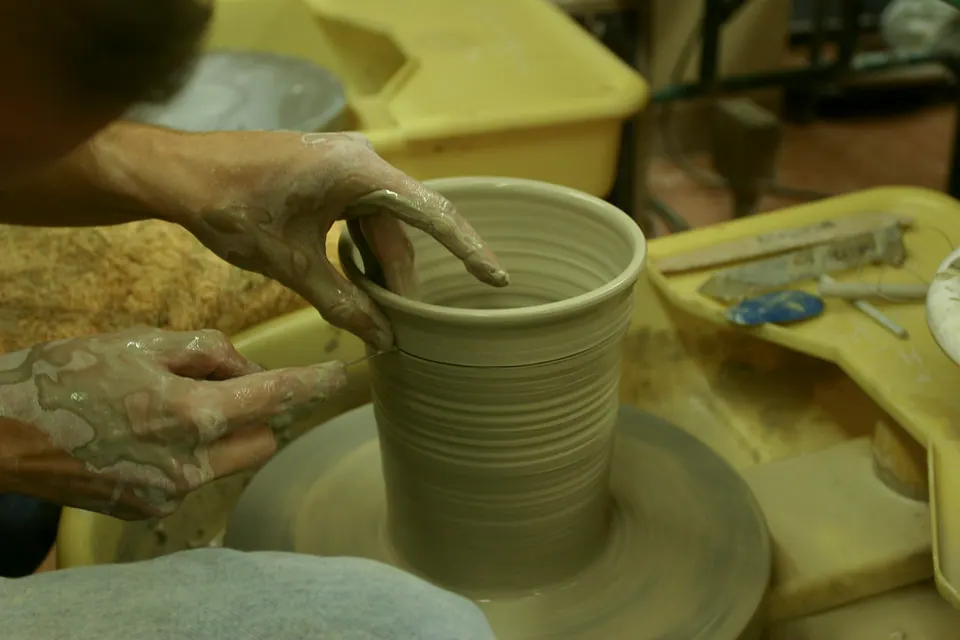
Slow to a medium-slow speed. With one hand inside and one outside, pinch gently at the base and lift steadily to the rim in one smooth pass. Each pull should thin and raise the wall a little. Three to four pulls is plenty for a beginner cylinder; more pulls means more water and more fatigue in the clay.
- Shape the form
Push out from the inside for a belly, collar in from the outside to narrow. A rib against the outside wall removes throwing lines and firms the curve. Work slowly; shaping at high speed throws the form off center.
- Finish the rim and clean up
Compress the rim with a damp chamois or your fingertips so it resists cracking. Sponge out water from the bottom. Use a wooden tool to trim a small bevel at the base where the pot meets the bat.
- Cut off and set aside
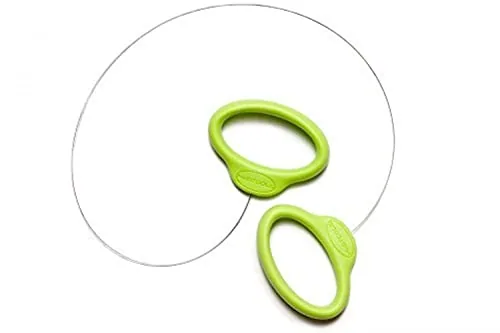
Stop the wheel. Pull a cut-off wire tight and drag it under the pot along the bat. Lift the bat off the wheel and set it on a shelf to dry slowly, loosely covered if the room is dry.
- Trim when leather-hard
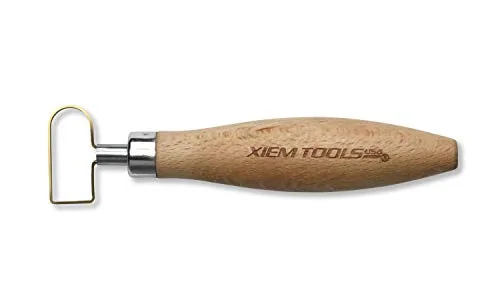
When the pot is firm enough to hold its shape upside down, but still cool and damp to the touch, recenter it upside down on the wheel. Secure it with clay lugs or a trimming chuck, and trim at a medium speed with a loop or ribbon tool to carve a foot and remove excess weight from the base.
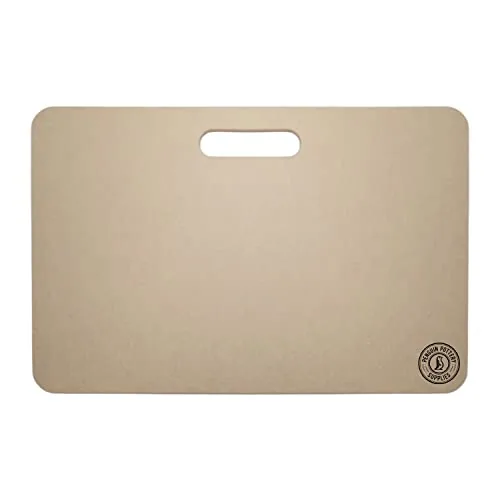


What speed should a pottery wheel be for each step?
Makers list a top speed, not a speed per task, so use the stages below as a starting point and adjust by feel. Speed drops as the pot gets wider, because the rim travels faster at the same rpm.
| Stage | Speed | Water | Hands |
|---|---|---|---|
| Centering | Fast | Light, enough to stop drag | Braced elbows, firm steady pressure |
| Opening | Medium | Light | Thumbs or fingers at dead center |
| Pulling walls | Medium-slow | Just enough to glide | Light, even pinch, slow lift |
| Shaping | Slow | Minimal | Rib or fingertips, gentle pressure |
| Trimming | Medium | None (leather-hard clay) | Tool braced against a steady hand |
| Wide plates | Slow | Minimal | Support the rim at all times |
Listed speed ranges vary a lot between wheels. A slower top speed does not stop you learning, but it makes centering bigger pieces slower.
| Product | Wheel head | Motor | Speed | Centering capacity |
|---|---|---|---|---|
| Speedball Artista Potter's Wheel, 1/3 HP, 11" | 11" | 1/3 HP | 0-220 rpm | 25lb |
| Speedball Clay Boss Pottery Wheel, 0.5 HP, 14" | 14" | .5 HP | 0-240 rpm | up to 100lb |
| Brent Model B Pottery Wheel | 12 inches | — | — | 150 lbs. continuously |
| Shimpo VL-Whisper Potter's Wheel | 14 inches | Brushless DC | — | — |
| VEVOR 450W Tabletop Pottery Wheel, 11" & 14" Heads | 11" and 14" turntables | 450W | 30-300 RPM | up to 11 lbs of clay |
| Alldeer PW103MAX 11" 350W Pottery Wheel Kit | 11 inch | 350W brushless | 300RPM (foot pedal) | 15kg clay loads |
| SKIRFY 9.5" Pottery Wheel Kit with Foot Pedal | 9.5-inch | 60W | 0-160 RPM | up to 6.6 lb (3 kg) |
Specs as listed by the maker or seller; check the listing before you buy.
How much clay can your wheel center?
Centering capacity is the most useful spec for comparing wheels, but makers measure it differently and many budget wheels do not list it at all. A tabletop wheel that lists 11 pounds handles mugs and bowls; a studio wheel that lists 100 pounds or more handles big jars and plates.
Listed centering capacity
Pounds of clay, as each maker or seller lists it (Alldeer’s 15 kg converted to 33 lb). Not every wheel lists this.
Whatever your wheel, beginners do best with small balls of clay. Choosing a wheel? See the best pottery wheels for beginners and the pottery wheel category.
Common beginner problems and fixes
| Problem | Likely cause | Fix |
|---|---|---|
| Clay wobbles and won’t center | Arms not braced, clay too stiff or too big | Lock elbows, use a smaller, softer ball, cone up and down |
| Pot twists or tears at the base | Too much water, clay over-worked | Sponge out water, fewer pulls, start again with fresh clay |
| Walls collapse | Walls too thin at the bottom, too wet, too fast | Slow down, leave more clay at the base, let it firm up |
| Off-center opening | Opening pressed in while the wheel slowed | Keep a steady speed, brace hands together |
| Rim goes wavy | Uneven wall or uneven pressure on the last pull | Trim the rim level with a needle tool and compress it |
| Crack in the base after drying | Floor not compressed, water left pooled | Compress the floor with a rib, sponge out water |
Tools that make throwing easier
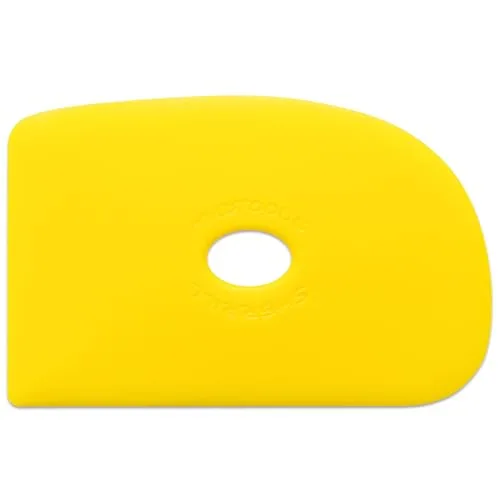
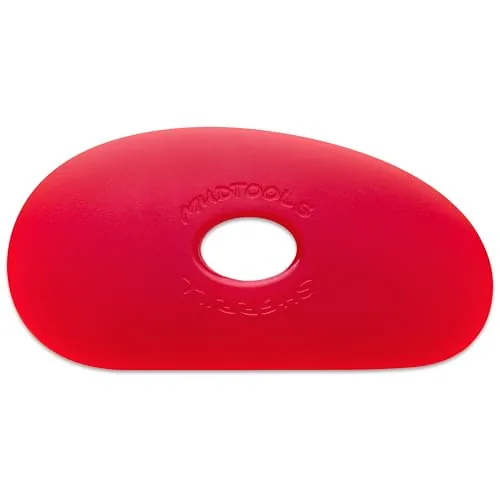
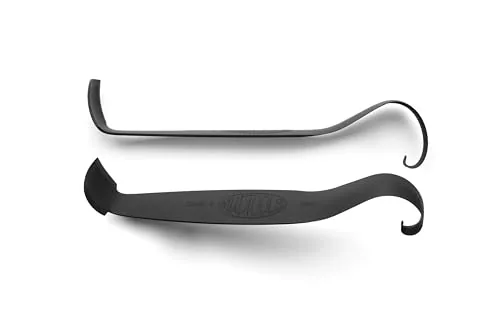
A starter kit covers the basics: a wooden rib, a loop tool, a needle tool, a sponge and a wire. Add a flexible polymer rib for smoothing, a sponge on a stick for tall forms, and calipers if you make lids.
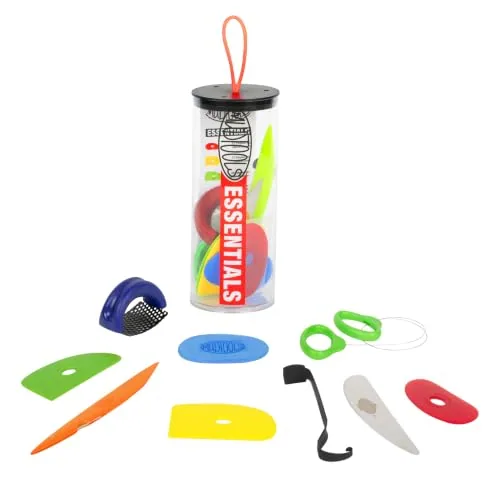
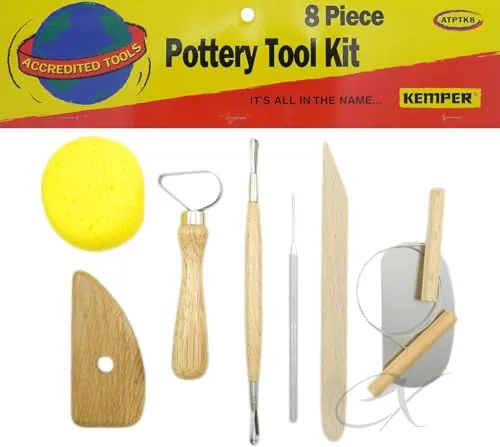
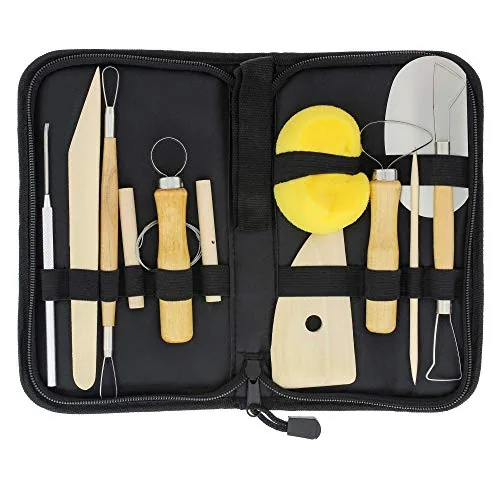
U.S. Art Supply Pottery Tool Set, 12 pc w/ Case
- Pieces
- 12
- Case
- Canvas zippered
Best for An affordable first kit
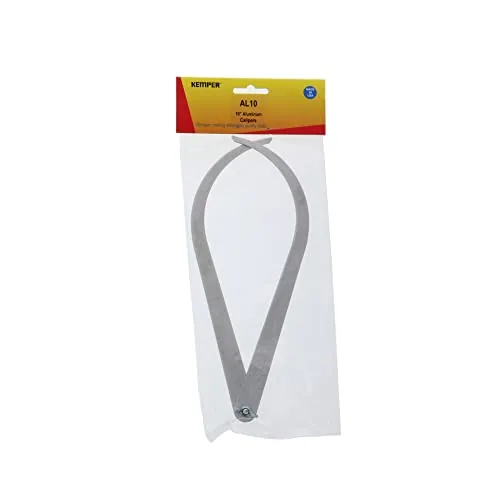
Our best pottery tool kits and trimming tools roundups compare sets by what they actually include.
Plan for shrinkage before you throw
Clay shrinks as it dries and again in the kiln, so a pot always comes out smaller than you threw it. A cone 6 stoneware that shrinks 12% turns a 4-inch-tall wet mug into roughly a 3.5-inch fired one. If you want a set size, throw bigger by dividing, not multiplying.
Clay shrinkage calculatorEnter the fired size you want and your clay’s shrinkage to get the size to throw.Who should practice what first?
- First week: wedging and centering only. Center, cut off, re-wedge, repeat.
- Weeks two to four: cylinders. A straight cylinder teaches every pull and is the base of mugs and vases. Then try our mug guide.
- Small-space potters: a tabletop wheel works for all of the above at mug scale. See small-space picks.
- Kids: kit wheels with air-dry clay teach the motion, not full centering. Check the age the maker states.