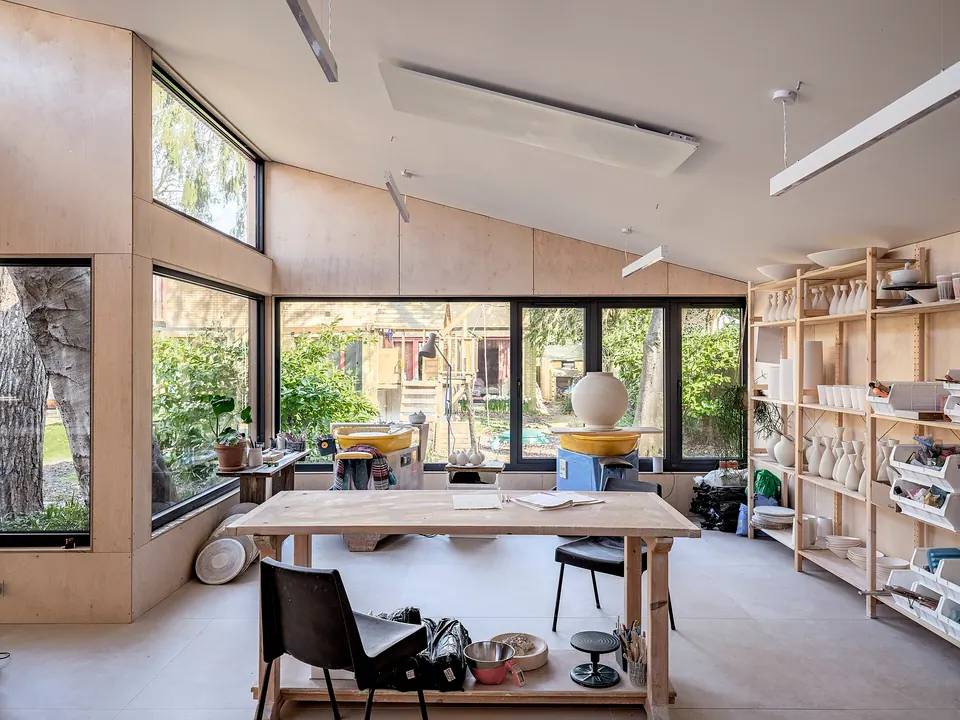
- Set up a home pottery studio in this order: space and floor → water and cleanup → work surface and tools → wheel → firing.
- Clay dust is the long-term hazard. Clean wet, never dry-sweep, and keep a P100 respirator for dusty jobs (OSHA’s silica limit is 50 µg/m³ over 8 hours).
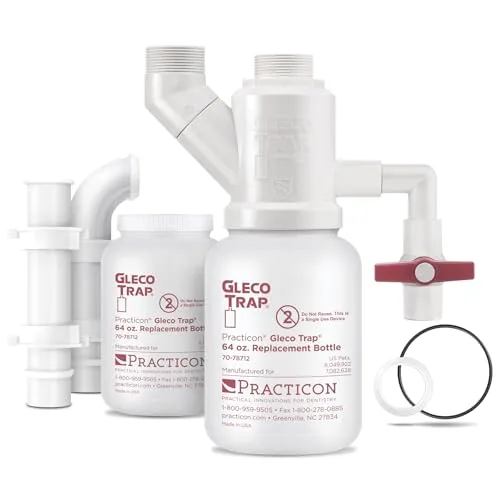
- Never pour clay water down the drain. A settling bucket or a sink trap costs far less than a plumber.
- You do not need your own kiln on day one. Many beginners fire at a community studio and buy a kiln later, once they know the circuit it needs.
A home pottery studio can be a garage corner, a spare room or a sturdy table on a balcony, as long as it has a washable floor, water nearby and a plan for clay waste. The gear is the easy part. The decisions that are hard to undo are where the dust goes, where the slurry goes, and whether you will ever put a kiln in the space.
This guide walks through the setup in the order that saves money and rework, with the gear that helps at each step. Product picks come from several brands in our catalogue and are chosen by listed specs only. Nothing here has been thrown on or fired by us.
What does a home pottery studio need?
Strip it back and every home studio has the same six zones. You can squeeze them into one room or spread them out, but each one needs a spot before you buy anything big.
The six zones of a home studio
| Zone | What it needs | Space-saving version |
|---|---|---|
| Wedging and hand-building | A solid table at roughly hip height, a canvas or MDF board | A 12 × 18 inch board on the kitchen table |
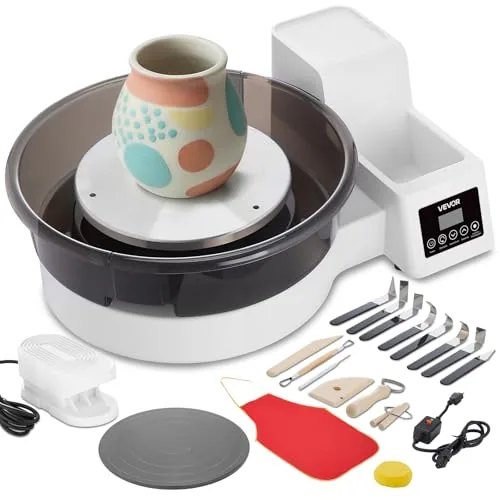
| Throwing | A wheel, a stool, a splash pan, a water bucket | A tabletop wheel with a pedal |
| Water and cleanup | Buckets for settling, sponges, a sink trap if you use a sink | Two or three buckets, no drain at all |
| Drying and storage | Open shelves away from drafts, plastic to slow drying | A wire drying rack |
| Glazing | A table you can wipe down, a scale, wax resist, brushes | The same table, cleaned between jobs |
| Firing | A kiln with its own circuit and clearances, or a firing service | A community studio that fires for a fee |
If space is tight, see our apartment pottery guide and the small-space picks.
Set up your studio in seven steps
- Pick the room for the floor, not the view
Choose a hard floor you can mop: concrete, vinyl or tile. Carpet traps clay dust and cannot be cleaned properly. A door you can close keeps dust out of the rest of the house, and a window helps with fresh air.
- Plan water and clay waste before anything else
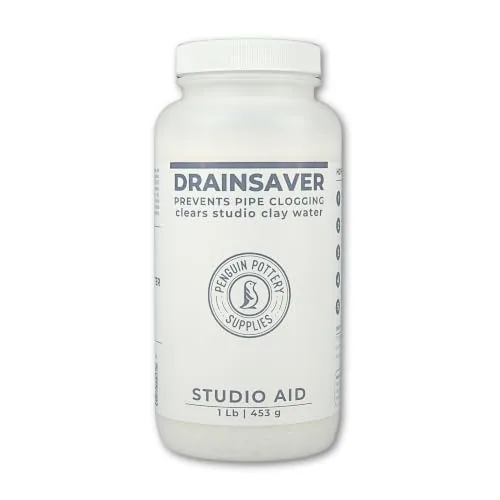
Clay settles out of water and hardens in pipes. Wash tools and hands in a bucket first, let the clay settle, pour off the clear water and reclaim or bin the sludge. If you must use a sink, fit a sediment trap under it. A clay settler additive speeds up the bucket method.
- Build a wedging surface
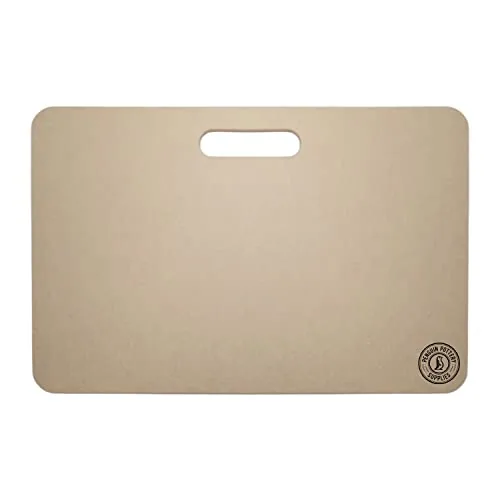
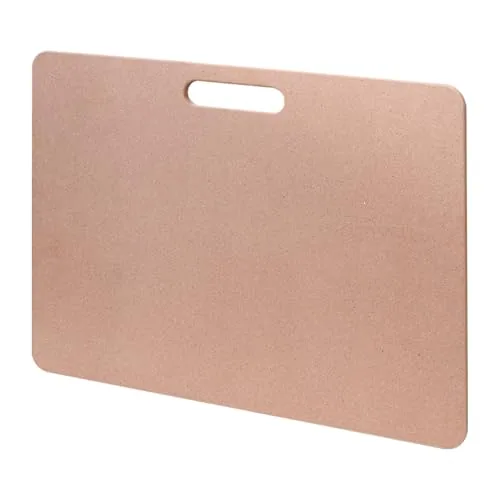
Wedging needs a heavy, stable table and a surface clay will not stick to. Canvas over plywood is the classic. Ready-made MDF or HDF wedging boards work on any table.
- Buy clay and a starter tool kit
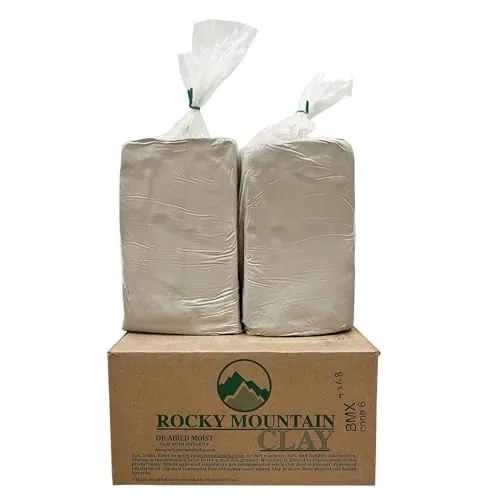
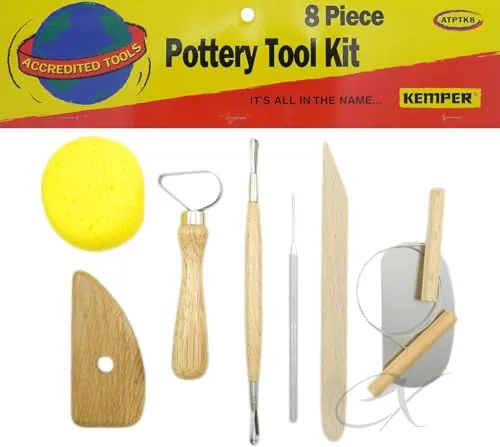
Start with one clay body that matches how you will fire. A mid-fire cone 6 stoneware fits most community studios and home kilns. A basic kit covers a rib, wire, needle tool, loop tools and sponge.
- Add a wheel that matches your space
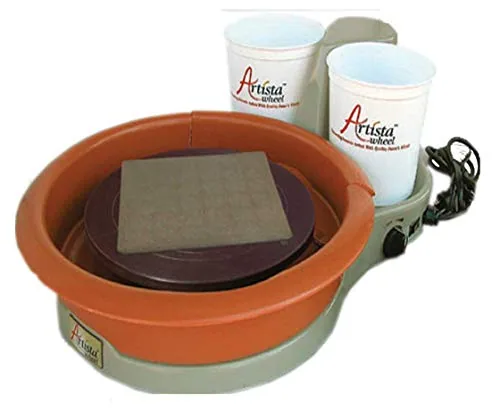
A full-size wheel suits a garage or spare room. A tabletop wheel fits a small apartment. Check the listed centering capacity against the size of pots you want to make; where it is not listed, treat that as a question for the seller.
- Set up dust control
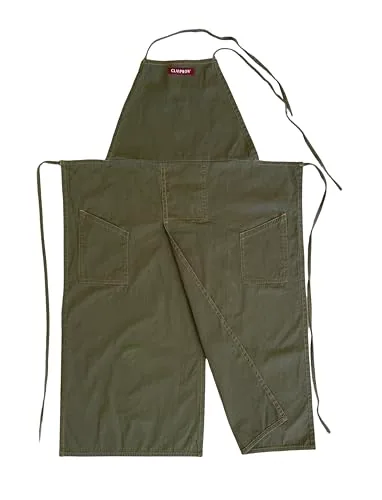
Wet-wipe surfaces at the end of each session, mop the floor, and keep a half-mask respirator with P100 filters for mixing dry glaze or cleaning up dried clay. Wash studio clothes separately.
- Decide how you will fire
Choose between a community studio, a 120 V kiln on a dedicated circuit, or a larger 240 V kiln. Do this before buying glazes, because the glaze cone has to match the clay and the kiln. The do you need a kiln guide lays out each route.

Dust and cleanup: the part people skip
Dried clay and glaze materials contain crystalline silica. Fine silica dust is a known lung hazard, and OSHA sets a permissible exposure limit of 50 micrograms per cubic meter of air as an 8-hour average for workplaces. A home studio is not a regulated workplace, but the same dust behaves the same way in your garage.
- Clean wet. Sponge and mop rather than sweep. Sweeping and dry brushing lift fine dust into the air.
- Do not let scraps dry on the floor. Trimmings that dry and get stepped on turn into dust.
- Use a HEPA-filtered vacuum, not a shop vac with a standard filter, if you vacuum at all. NIOSH’s ceramics engineering-control guidance focuses on capturing dust at the source.
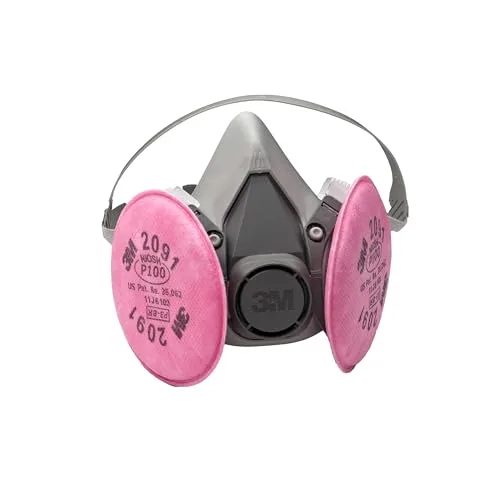
- Wear a fitted respirator for dusty tasks, such as weighing dry glaze materials or sanding greenware. Disposable N95s are a minimum; a reusable half-mask with P100 filters gives a better seal for many faces.
3M 6291 Half Mask Kit w/ P100 Filters, Medium
- Filter rating
- P100
- Size
- Medium
- Includes
- Half facepiece + 2091 P100 filters
Best for A first respirator for dusty tasks

GVS Elipse P100 Dust Half Mask, S/M
- Filter rating
- P100
- Size
- Small-Medium
- Filters
- Replaceable, included
Best for A compact reusable dust mask
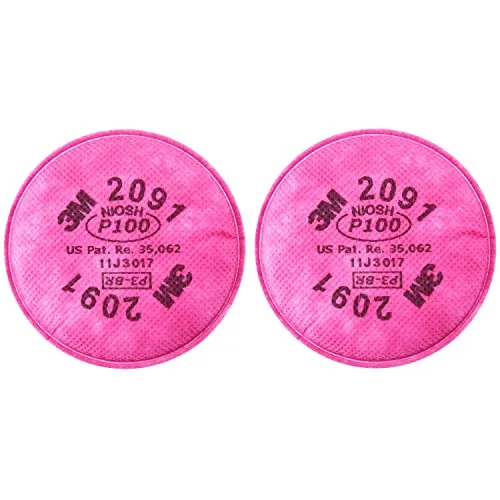
3M 2091 P100 Particulate Filters, 3 Pairs
- Filter rating
- P100
- Efficiency
- 99.97%
- Pieces
- 3 pairs (6 filters)
Best for Refilling a 3M half mask
Our pottery studio safety guide and the respirator roundup cover fit, filters and ventilation in more depth.
Where should a kiln go?
Plan the kiln spot even if the kiln is a year away, because it decides the whole layout. A kiln needs its own electrical circuit, clearance from walls and anything that burns, a non-combustible floor or stand, and a way to get fumes outside. Kiln makers publish exact clearances in each manual, so read the manual for the model you are considering before you pick the corner.
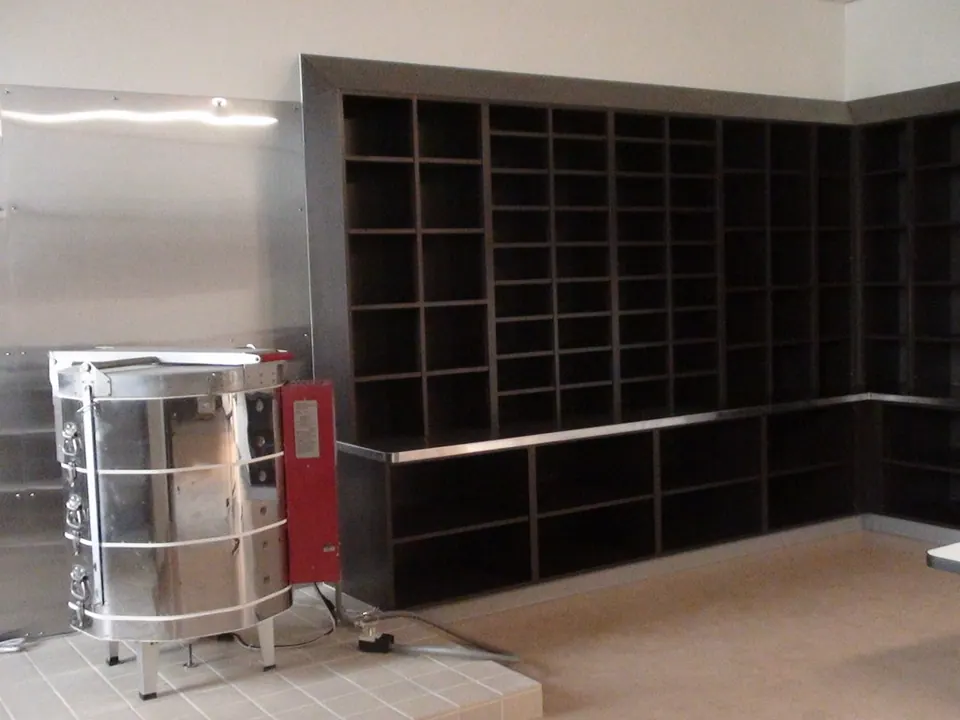
Kiln current draw in our catalogue
Amps as listed. The draw sets the circuit, and the circuit often decides where the kiln can go.
Under the National Electrical Code’s continuous-load logic, a kiln may only use 80% of its breaker’s rating. That means a 15 A kiln needs a 20 A circuit, and the 15 A circuits behind many household outlets top out at 12 A of kiln. Check your numbers with the outlet checker, then have a licensed electrician confirm the circuit before the first firing.
Can I plug in my kiln? Outlet checkerEnter the kiln’s amps and your breaker size to see whether the circuit is big enough.- Garage or utility room is the usual home for a kiln: hard floor, some airflow, away from bedrooms.
- Venting. Firings release moisture and fumes from organic matter and glaze materials. Kiln makers sell downdraft vents, such as Skutt’s EnviroVent, that pull fumes out through a small duct.
- Not in a closet and not under shelves of paper, fabric or paint. Follow the clearances in the manual.
- Ask your landlord and insurer before installing a kiln in rented or insured space.
Read the full kiln electrical requirements guide and our pick of the best kilns for home when you get there.
Shelving, drying and glazing gear
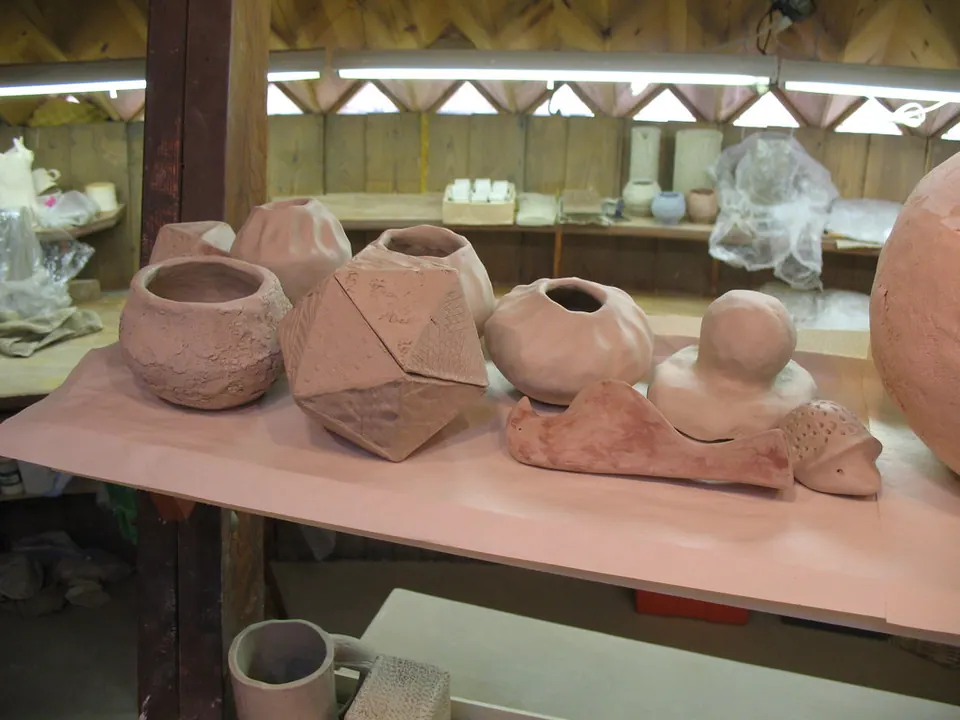
Pots dry from the rim down and from the outside in. Open shelves let you watch that happen, and a sheet of plastic over the top slows it when a handle or a thick base needs to catch up. Keep drying shelves out of direct sun and away from heaters, which cause uneven drying and cracks.

U.S. Art Supply 25-Shelf Art Drying Rack
- Capacity
- 4 lb per shelf
- Size
- 14.5" D x 17.5" W x 38" H
- Shelves
- 25 removable wire shelves
Best for Classrooms drying flat work and tiles
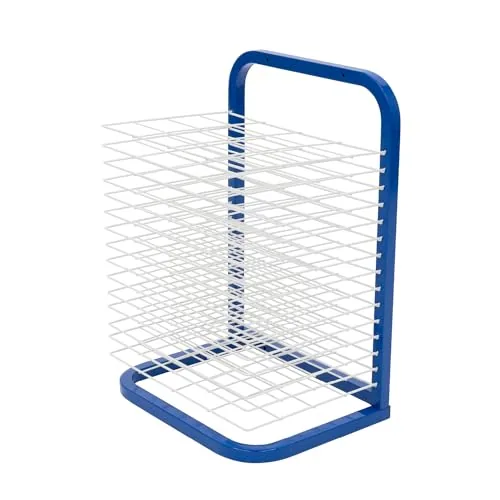
Pearington 15-Shelf Tabletop/Wall Drying Rack
- Capacity
- 3 lbs per shelf
- Shelves
- 15
- Spacing
- 1"
Best for Flat pieces in a classroom
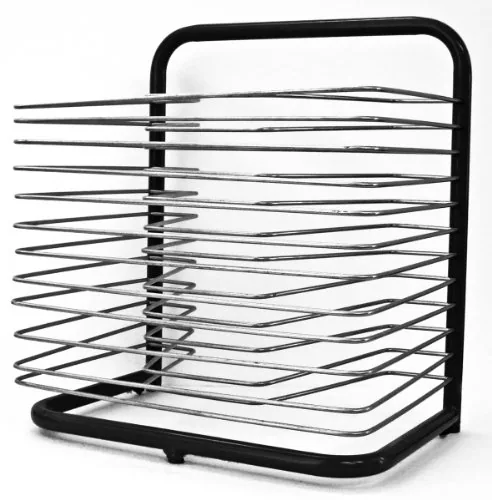
INOVART Tabletop Art Drying Rack, 12 Shelves
- Material
- Aluminum shelves, steel frame
- Shelves
- 12 fixed
- Shelf size
- 12"x18"
Best for Drying flat work in tight spaces
For glazing you need a scale if you mix anything yourself, wax resist for the feet of pots, a few soft brushes and a clean table. If you buy ready-mixed glazes, buy ones made for the same cone as your clay.
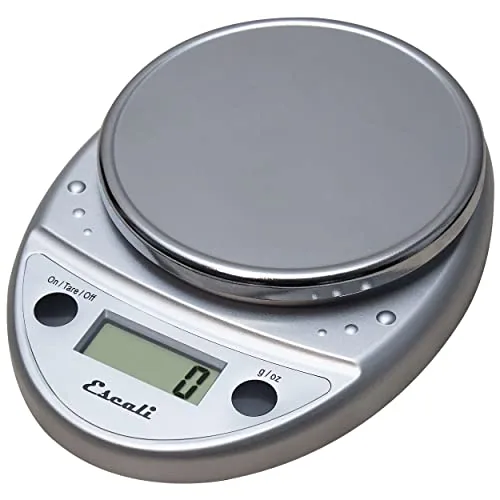
Escali Primo Digital Scale, P115
- Size
- 8.5 x 6 x 1.5 inches
- Features
- Tare, auto shut-off
Best for Weighing clay balls and glaze batches

AMACO Wax Resist, 16 oz
- Size
- 16 Fl Oz (472ml)
- Use
- Resist glaze and slip on bisque
Best for Waxing feet and resist designs
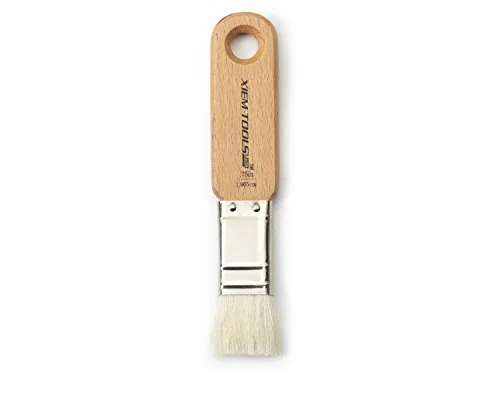
Xiem Short Cut Glaze Brush, 0.75"
- Size
- .75 inch
- Bristles
- Goat tail hair
- Handle
- German birch wood
Best for Brushing glazes evenly
When you get to glazing, our how to glaze pottery guide takes it step by step.
A sensible first-month setup
If you are starting from nothing, this is a lean but complete kit for the first month, before any firing decisions are locked in.
| Item | Why | Can wait? |
|---|---|---|
| One bag of cone 6 stoneware | One body teaches you more than several | ✗ Need now |
| Starter tool kit and a soft rib | Covers trimming, cutting, smoothing | ✗ Need now |
| Wedging board | Prepares clay, protects the table | ✗ Need now |
| Buckets and sponges | Cleanup without the drain | ✗ Need now |
| Respirator with P100 filters | Dusty cleanup and glaze mixing | ~ Before you mix dry materials |
| Wheel | Only if you want to throw | ~ Hand-build first if unsure |
| Drying rack | Keeps pots safe while they dry | ~ Shelves work too |
| Kiln | Needs a circuit, space and a vent | ✓ Use a firing service first |
Rocky Mountain Clay B-Mix Cone 6 Stoneware, 50 lb
- Clay body
- Smooth white mid fire stoneware (B-Mix)
- Firing range
- Mid Fire Cone 6
- Weight
- 50lb
Best for Cone 6 wheel throwing
Penguin Pottery Wedging Board, 12x18"
- Size
- 12" x 18"
- Material
- Medex MDF
- Handle
- One built-in
Best for Wedging on a kitchen table
Speedball Artista Potter's Wheel, 1/3 HP, 11"
- Motor
- 1/3 HP
- Wheel head
- 11"
- Centering capacity
- 25lb
Best for Home studios with limited space
Mistakes to avoid
- Buying a kiln before checking the circuit. The kiln may arrive before you learn your panel cannot supply it.
- Pouring slurry down the sink. Clay settles in traps and pipes.
- Buying glazes for the wrong cone. A cone 06 glaze on cone 6 clay, or the reverse, will not give the result on the label.
- Treating a budget 2,192 °F “kiln” as a stoneware kiln. Orton lists cone 6 at 2,232 °F at a medium heating rate, so those furnaces cannot reach it that way. See the cone chart.
- Setting up on carpet. You cannot get clay dust out of it.
- Skipping the respirator because the room looks clean. The dust that matters is too fine to see.
Who should set up which way?
- Total beginners: hand-build or take a class first, buy clay and tools, and fire at a studio. Our beginner picks start there.
- Apartment potters: tabletop wheel, bucket cleanup, no kiln. Studio firing or a no-kiln clay keeps things simple.
- Garage studios: full-size wheel, wedging table, shelving, and a kiln plan with an electrician.
- Parents and classrooms: air-dry clay and kid-rated kits first; see the kids and classroom hub.