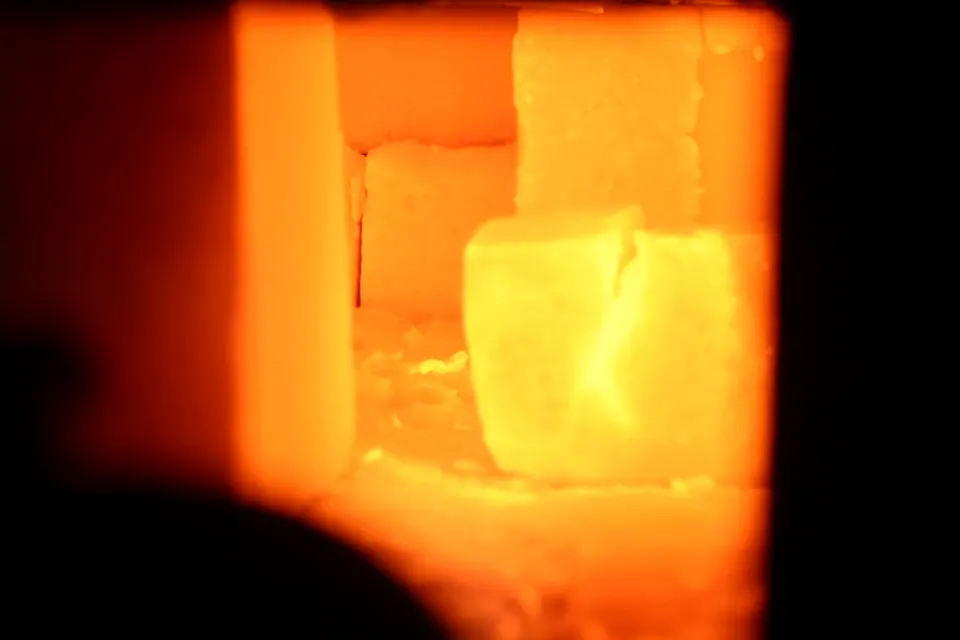
- A cone chart lists the temperature at which each pyrometric cone bends. Cones measure heatwork, the combined effect of temperature and time, not temperature alone.
- Numbers with a leading zero count down as they get hotter: cone 06 is hotter than cone 08. Numbers without a zero count up: cone 6 is hotter than cone 5.
- Orton’s most-quoted column is the medium rate (108 °F per hour over the last 180 °F): cone 04 = 1,945 °F, cone 6 = 2,232 °F, cone 10 = 2,345 °F.
- Fire clay and glaze to the cone on their labels, and put a witness cone on the shelf to see what the ware actually got.
A cone chart is the translation table between the cone number printed on your clay and glaze and the temperature your kiln controller shows. Cones are small pyramids of ceramic material made to soften and bend at a known amount of heat. Potters have used them for over a century because they record what the ware experienced, not just what a thermocouple read.
All temperatures on this page come from the Edward Orton Jr. Ceramic Foundation’s chart for regular self-supporting cones, the same data behind our interactive Orton cone chart.
What does a cone actually measure?
Clay and glaze mature through a combination of temperature and time. Hold a kiln a little below a target temperature for longer and you get a similar result to a quick climb to a slightly higher temperature. Orton calls that combined effect heatwork, and cones are designed to bend in response to it.
That is why Orton’s chart has three columns. The heating rate in the last 180 °F (100 °C) of the firing changes the temperature at which each cone bends: the slower the climb, the lower the bending temperature.
How to read the cone chart
The cone numbering confuses almost everyone at first. The scale has two halves that meet in the middle:
- Zero-prefixed cones (022 to 01) get hotter as the number gets smaller. Cone 022 is the coolest on the chart; 01 is the hottest of this half.
- Plain cones (1 to 10 and beyond) get hotter as the number gets bigger. Cone 1 sits just above cone 01.
- Say the zero out loud: “oh-six” (06) is low fire; “six” (6) is mid-range. Mixing them up is the classic beginner mistake, and it is a difference of about 400 °F.
Key cones from Orton’s chart (regular self-supporting cones)
| Cone | Slow 27 °F/hr | Medium 108 °F/hr | Fast 270 °F/hr | Medium in °C | Typical use |
|---|---|---|---|---|---|
| 022 | — | 1,087 °F | 1,094 °F | 586 °C | Overglaze, lusters |
| 018 | 1,267 °F | 1,319 °F | 1,353 °F | 715 °C | Decals, china paint |
| 010 | 1,636 °F | 1,657 °F | 1,679 °F | 903 °C | Low end of low fire |
| 08 | 1,692 °F | 1,728 °F | 1,753 °F | 942 °C | Some low bisque |
| 06 | 1,798 °F | 1,828 °F | 1,855 °F | 998 °C | Bisque, low-fire glaze |
| 04 | 1,915 °F | 1,945 °F | 1,971 °F | 1,063 °C | Bisque, low-fire glaze |
| 03 | 1,960 °F | 1,987 °F | 2,019 °F | 1,086 °C | Low-fire clay bodies |
| 1 | 2,028 °F | 2,079 °F | 2,109 °F | 1,137 °C | Start of mid-range |
| 5 | 2,118 °F | 2,167 °F | 2,205 °F | 1,186 °C | Mid-fire stoneware |
| 6 | 2,165 °F | 2,232 °F | 2,269 °F | 1,222 °C | Mid-fire stoneware, porcelain |
| 10 | 2,284 °F | 2,345 °F | 2,381 °F | 1,285 °C | High-fire stoneware, porcelain |
Source: Orton, Temperature Equivalents for Orton Pyrometric Cones (©2016)
Medium-rate bending temperature by cone
°F at 108 °F/hr over the last 180 °F, regular self-supporting cones
Low fire, mid-range and high fire
- Low fire (about cone 06 to 01): earthenware, terracotta and most brushable low-fire glazes. Bisque firing for most clay bodies also happens around cone 06–04.
- Mid-range (cone 4 to 7, mostly 5–6): the most common range for home and community studios. Much of the stoneware, porcelain and glaze sold for the wheel is made for it.
- High fire (cone 8 to 10): traditional high-fire stoneware and porcelain, usually in larger or gas kilns.
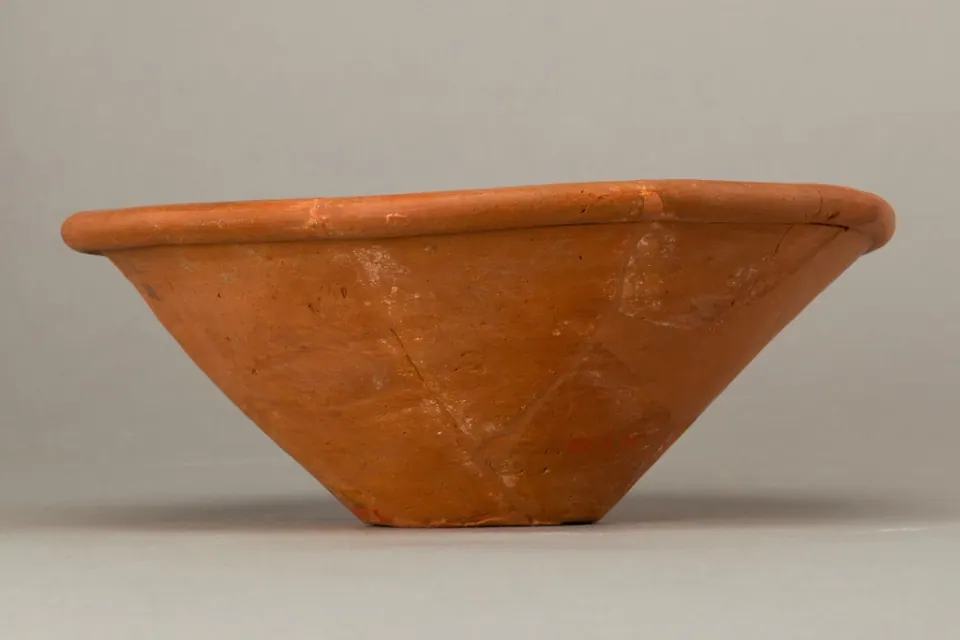
Product labels in our catalogue follow the same scale. Penguin Pottery’s cone 5–6 glazes list “about 2167–2232 °F”, which matches Orton’s medium-rate values for cones 5 and 6. A gold overglaze in our catalogue lists firing at 1,166 °F, close to cone 020 (1,159 °F at medium).
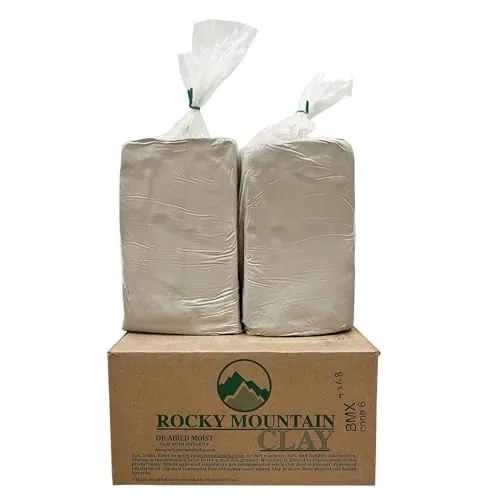
Rocky Mountain Clay B-Mix Cone 6 Stoneware, 50 lb
- Clay body
- Smooth white mid fire stoneware (B-Mix)
- Firing range
- Mid Fire Cone 6
- Weight
- 50lb
Best for Cone 6 wheel throwing
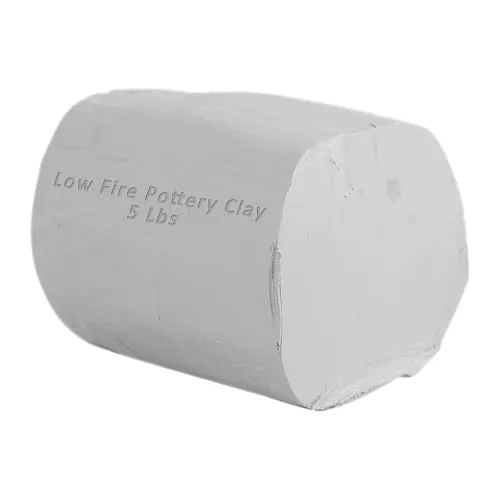
TORISING Low Fire White Pottery Clay, Cone 04-06, 5 lb
- Clay body
- Low fire white (kaolin)
- Firing range
- Cone 04-06
- Weight
- 5Lbs
Best for Trying low-fire clay before buying a box
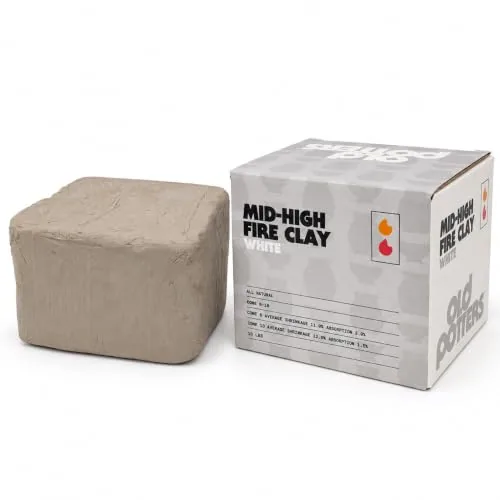
Old Potters White Stoneware Clay, Cone 6-10, 10 lb
- Clay body
- White Stoneware
- Firing range
- Cone 6-10
- Weight
- 10 lb
Best for Stoneware in a smaller quantity
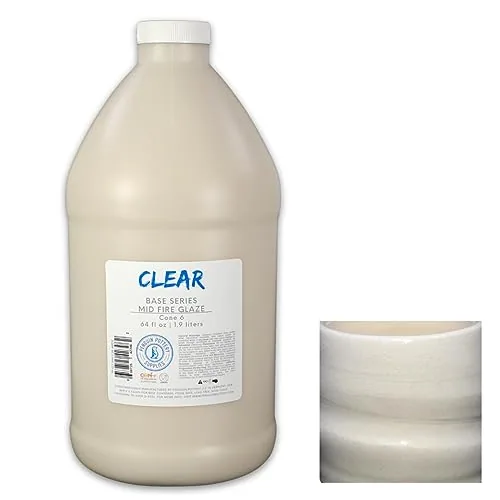
Penguin Pottery Glossy Clear Cone 5-6, 64 oz
- Firing range
- Cone 5-6 (about 2167-2232°F)
- Size
- 64 Fl Oz
- Finish
- Glossy clear, zinc-free
Best for Potters who use a lot of clear
Choosing clay by cone? See stoneware vs earthenware vs porcelain and the clay category.
Witness cones, cone packs and kiln sitters
A controller reads a thermocouple, and thermocouples drift as they age. A cone on the shelf shows what the ware actually received, which is why many potters put one in every firing.
- Pick three cones
Use the target cone plus one cone cooler (guide) and one hotter (guard). For a cone 6 firing that is cones 5, 6 and 7.
- Set them up
Self-supporting cones stand at the correct angle on their own base. Junior and large cones go in a pad of clay or a holder at the angle the maker specifies.
- Place them where you can see them
Put the pack on a shelf in line with a peephole, or in the area of the kiln you want to check, away from elements.
- Read the bend after firing
Orton treats a self-supporting cone as reached when its tip bends down level with its base. If the guide cone is down and the target cone is half-bent, the firing fell short; if the guard cone has bent too, it went hot.
- Adjust and log
Note where each shelf ran hot or cool. Small offsets can be corrected in the controller; a big change can mean a worn element or thermocouple.
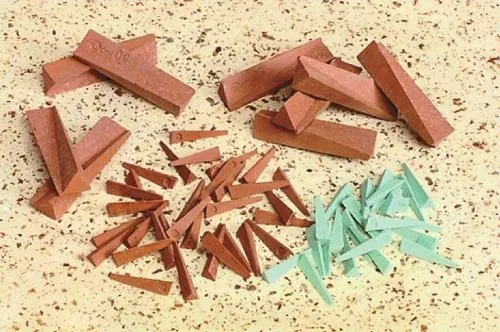
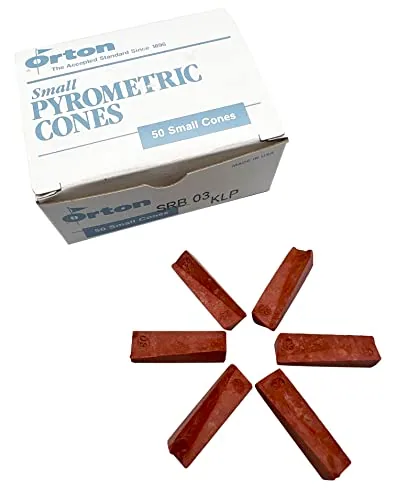
- Orton notes that small (junior) cones deform about 12–18 °F (7–10 °C) earlier than self-supporting cones.
- A cone in a kiln-sitter shutoff does not always give the chart temperature, so Orton recommends confirming with a cone on the shelf.
- Holding near peak temperature keeps cones bending. Orton says a 1–2 hour soak is usually enough to bend the next higher cone.
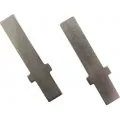
Kiln-Sitter Cone Supports, 5 Packs of 2
- Count
- 5 packs of 2 (10 pcs)
- Size
- approximately 1.35" long by 0.35" wide
- Fits
- All models of Kiln-Sitter
Best for Kilns with a Kiln-Sitter
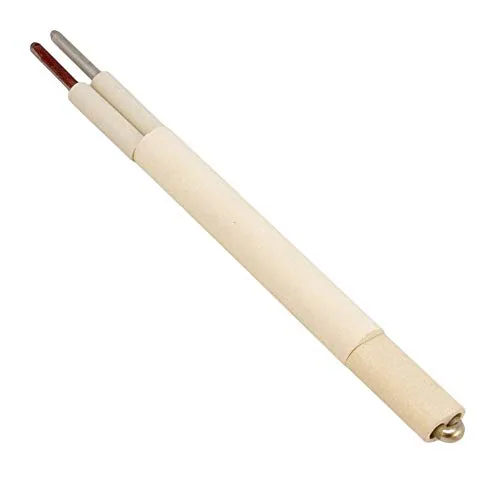
Skutt Type K Kiln Thermocouple SK1515
- Type
- Type K
- Gauge
- 8-Gauge
- Length
- 6" long
Best for Kiln owners replacing a worn thermocouple
Why a listing’s temperature may not match the chart
Package temperatures are often rounded or quoted at one heating rate. Our Orton cone 03 listing, for example, gives “approximate temperature of 2014 °F”, which falls between Orton’s medium (1,987 °F) and fast (2,019 °F) values. When a label and the chart disagree, go by the cone number and use the chart for the rate your kiln actually fires at.
For kilns that do reach your cone, see the best kilns for home and best 120 V kilns.
Which cone should you fire at home?
The cone you fire decides your clay, your glazes and your kiln, so it is worth choosing on purpose rather than by accident.
- Cone 06–04 (low fire) suits bright colors, terracotta, classroom work and kilns with a lower listed maximum. Low-fire ware stays more porous than mid-fire stoneware, so a well-fitted glaze matters for anything that holds water.
- Cone 5–6 (mid-range) is the sensible default for most home potters. It is what many community studios fire, it gives dense stoneware, and many 120 V and 240 V kilns list maximums above it with headroom to spare.
- Cone 10 (high fire) makes sense if you fire with a studio that runs high-fire or gas kilns. At home it needs a kiln whose listed maximum clears 2,345 °F, which rules out many small models.
- Overglaze cones (022–018) are for a third firing of lusters, decals and china paint on already-glazed ware.
Whatever you choose, stick with it for a while. Changing cones means changing clay and glazes together.
Mistakes to avoid with cones
- Confusing 06 and 6. A cone 06 glaze fired to cone 6 can run off the pot and onto the shelf.
- Firing to a temperature instead of a cone. Two kilns at the same peak can give different results if they climb at different rates.
- Never using witness cones. A drifting thermocouple goes unnoticed until glazes come out dry or runny.
- Mixing clay and glaze cones. Both should be rated for the cone you fire.
- Over-soaking. Long holds add heatwork, which can push you up a cone. See glaze defects for what over-firing looks like.