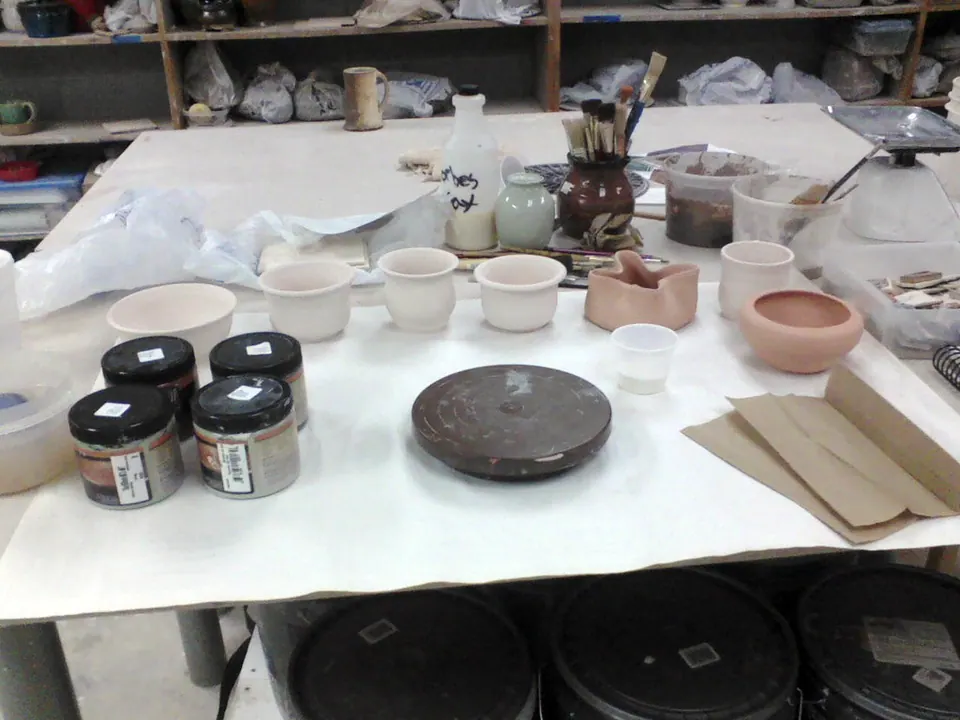
- To glaze pottery well: match the glaze cone to your clay and kiln, glaze clean bisque, keep the foot bare, and apply an even coat by dipping, brushing or pouring.
- Follow the label for coats and thickness. Brushing glazes often call for several thin coats; dipping glazes need only a few seconds.
- “Food-safe” is a maker’s statement that applies only when fired as directed. If you sell functional ware, consider lab leach testing.
- Mixing dry glaze materials releases silica dust. Wear a fitted respirator and clean wet.
Learning how to glaze pottery is less about artistic talent than about a repeatable routine. Most glaze failures, from bare patches to pots welded to the shelf, come from a skipped step before the brush ever touches the pot: the wrong cone, dusty bisque, or glaze left on the foot.
This guide covers the routine for commercial ready-mixed glazes, which is how most home potters start, with notes on dipping, brushing and pouring. Food-safety and dust guidance cite FDA, OSHA and NIOSH. Product examples and their cone ranges come from maker listings.
Start with the right glaze for your cone
Every glaze is formulated to melt properly at a particular cone. Fire it too cool and it comes out dry or rough; too hot and it can run off the pot. Your clay, glaze and kiln have to agree, so pick the cone first and shop second.
Glazes in our catalogue by listed firing range
29 ready-mixed glazes and glaze sets, excluding underglazes and accessories
Eight of 29 listings in our data do not state a cone. For those, check the maker’s product page before you buy, not after.
| Product | Firing range | Size | Finish | Food-safe |
|---|---|---|---|---|
| Penguin Pottery Specialty Series Glaze Set #1, 8 x 4 oz | Cone 5-6 (about 2167-2232°F) | 4 fl oz jars | Glossy, opaque | Suitable for surfaces that come into contact with food or drink when fired to the specified cone |
| Mayco Stoneware Glaze Kit #4, 6 Pints | Cone 5/6-10 | 16 oz. (473 mL) jars | — | — |
| AMACO Potter's Choice PC-23 Indigo Float, Pint | Mid-High Fire Cone 5-6 | 16 oz. (473 mL) | — | — |
| Penguin Pottery Glossy Clear Cone 5-6, 64 oz | Cone 5-6 (about 2167-2232°F) | 64 Fl Oz | Glossy clear, zinc-free | Suitable for surfaces that come into contact with food or drink when fired to the specified cone |
| Sax Gloss Glaze Set, 6 Pints | Cone 06-05 | 16 Ounce Pints | Gloss, opaque | Dinnerware suitable when fired to cone 06-05 |
| Penguin Pottery Low Fire Clear Glaze, Cone 06-04, Pint | Cone 06-04 | 16 oz (473 ml) | Clear | Food safe (when properly fired and tested) |
Specs as listed by the maker or seller; check the listing before you buy.
Orton cone temperature chartCheck what your glaze’s cone means in °F or °C.What you need before you glaze
- Bisqueware, fired and cool. See bisque vs glaze firing.
- Glaze in the right cone, stirred thoroughly.
- Wax resist for feet and lids, or a damp sponge to wipe them.
- Soft brushes for brushing glazes; a wide fan or hake brush covers fast.
- A bucket or wide container deep enough to dip, plus tongs if you dip.
- Sponges, a needle tool and a clean table.
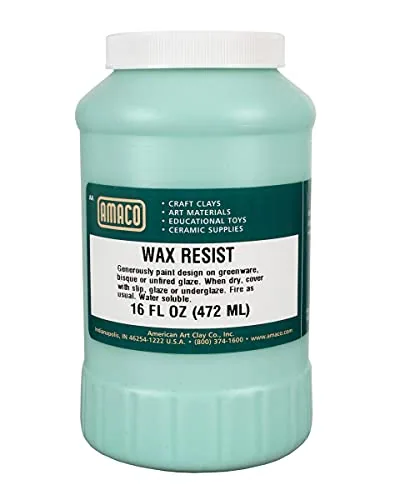
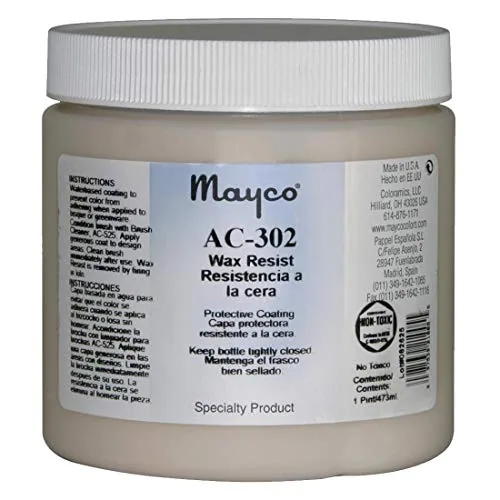
AMACO Wax Resist, 16 oz
- Size
- 16 Fl Oz (472ml)
- Use
- Resist glaze and slip on bisque
Best for Waxing feet and resist designs
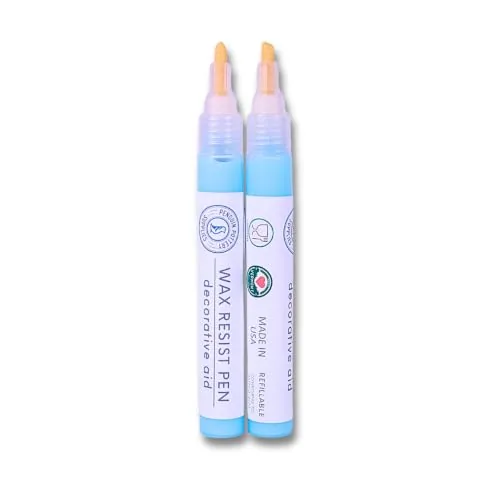
Penguin Pottery Wax Resist Pens, Set of 2
- Count
- Set of 2
- Tips
- Chisel and round
- Refillable
- Yes
Best for Fine resist lines
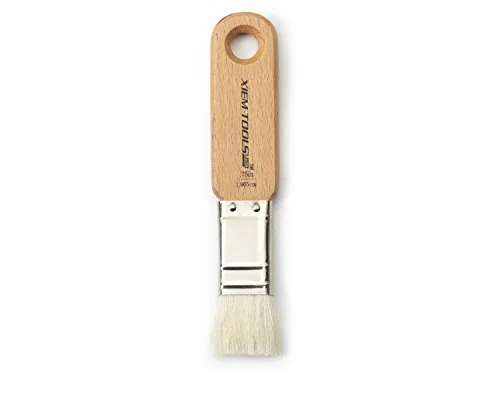
Xiem Short Cut Glaze Brush, 0.75"
- Size
- .75 inch
- Bristles
- Goat tail hair
- Handle
- German birch wood
Best for Brushing glazes evenly
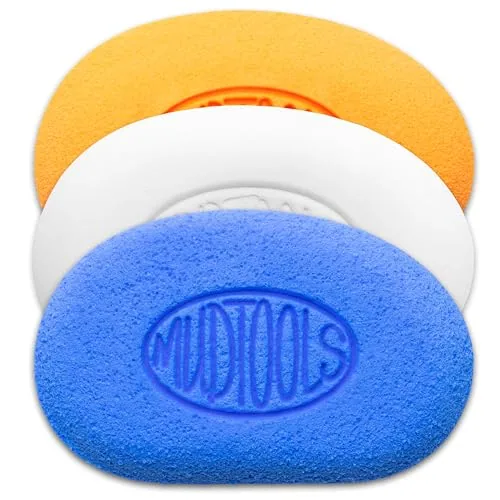
Mudtools MudSponge 3-Pack, White/Orange/Blue
- Pieces
- 3
- Size
- 3.75 x 2.63 inches
Best for Covering all sponge jobs
How to glaze pottery in eight steps
- Clean the bisque
Wipe each piece with a barely damp sponge or blow off dust. Dust and hand oils can stop glaze sticking and lead to crawling. Avoid soaking the pot; very wet bisque absorbs less glaze.
- Wax the foot
Brush wax resist on the bottom and about a quarter inch up the foot, plus any lid seating. Let it dry fully before glazing. Wax burns away in the kiln.
- Stir the glaze thoroughly
Glaze settles. Stir from the bottom until no sediment remains, and stir again between pieces. Add water only if the label allows and only a little at a time.
- Glaze the inside first
Pour glaze in, swirl, and pour it out in one smooth motion while turning the pot. This coats the inside evenly and leaves the outside to handle.
- Glaze the outside
Dip, brush or pour (see below). Hold the pot by the foot or with tongs. Follow the label for dip time or number of brushed coats.
- Fix drips and thick spots
When dry to the touch, rub drips smooth with a finger. Fill tong marks with a dab of glaze. Very thick areas are where glaze runs and crawls.
- Clean the foot again
Sponge off any glaze that landed on the wax or the foot. Wax repels most of it; a damp sponge removes the beads. Molten glaze will weld the pot to the shelf.
- Dry, load and fire
Let the glaze dry, then load with space between pieces, on kiln-washed shelves, with a witness cone. Fire to the cone on the label.
Dipping, brushing or pouring: which method?
| Dipping | Brushing | Pouring | Spraying | |
|---|---|---|---|---|
| Glaze needed | A full bucket | Small jar | Medium | Small, but overspray |
| Coverage | ✓ Very even | ~ Depends on coats | ✓ Even inside | ✓ Even |
| Speed | ✓ Fast | ✗ Slow | ✓ Fast | ~ Medium |
| Best for | Mugs and bowls in batches | Detail, layering, small studios | Insides, large forms | Large pieces, gradients |
| Home-friendly | ~ Needs volume | ✓ Yes | ✓ Yes | ✗ Needs a spray booth and respirator |
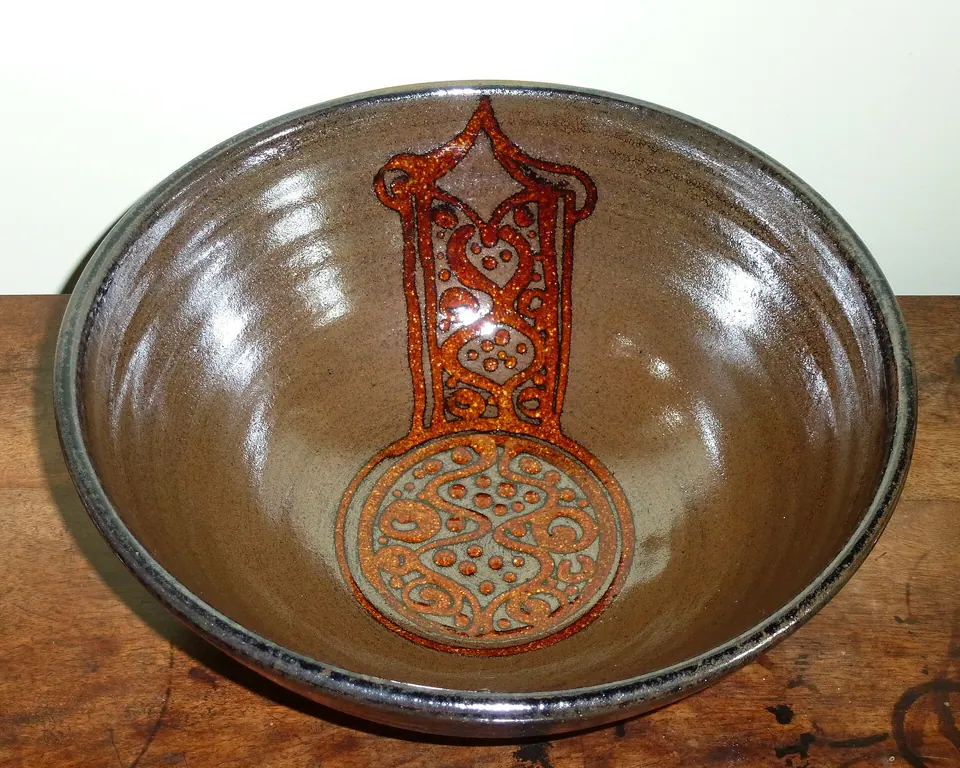
Dipping
Hold the pot with tongs or by the foot, dip it in one smooth motion, and lift it out after the time on the label, often only a few seconds. Thickness depends on the glaze consistency and the dip time, so keep both consistent.
Brushing
Brushing glazes contain gums that keep them workable. Apply even coats, letting each dry to the touch before the next, and change brush direction between coats to avoid streaks. Labels usually state how many coats to apply.
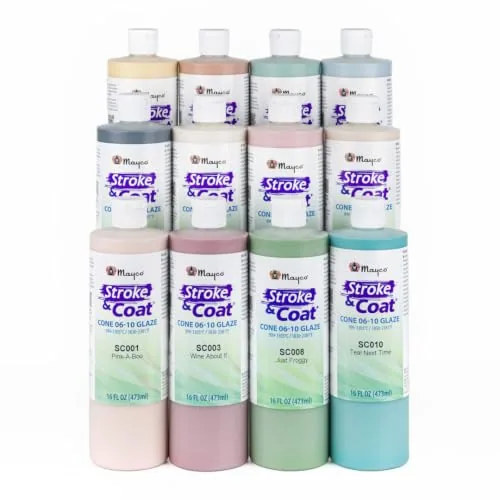
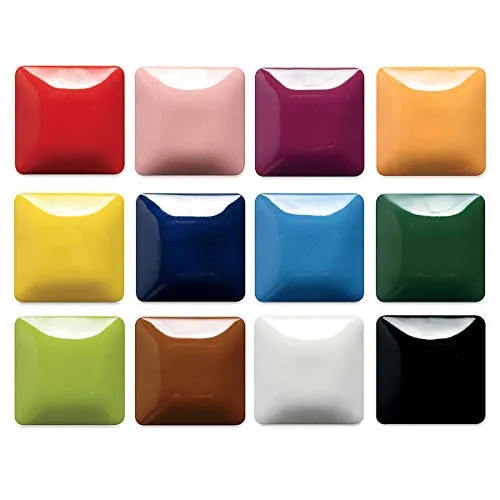
Mayco Stroke & Coat Glaze Set B, 12 Pints
- Size
- Pints
- Count
- 12
- Food-safe
- Dinnerware safe
Best for Studios and heavy users of Stroke & Coat
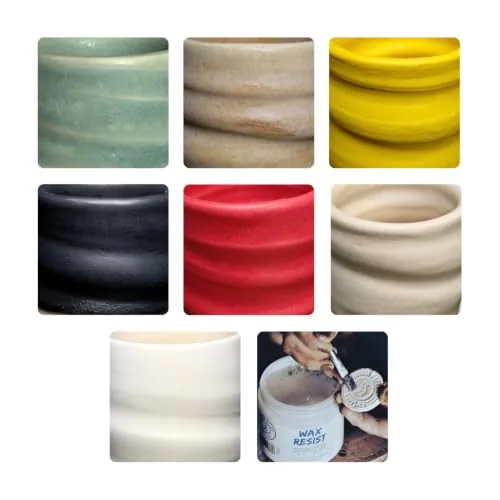
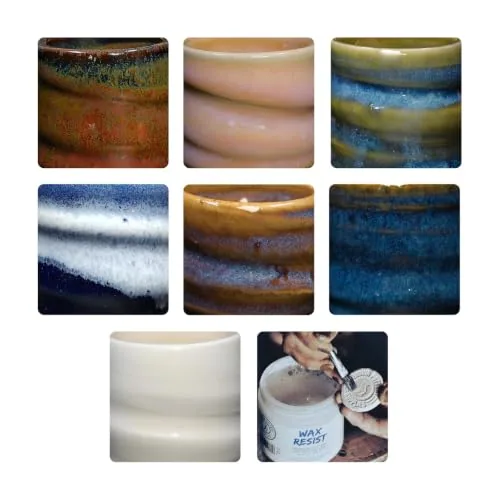
Penguin Pottery Matte Series Glaze Set, 8 x 4 oz
- Firing range
- Cone 5-6 (about 2167-2232°F)
- Size
- 4 fl oz jars
- Count
- 7 glazes plus wax resist
Best for Matte mid-fire surfaces
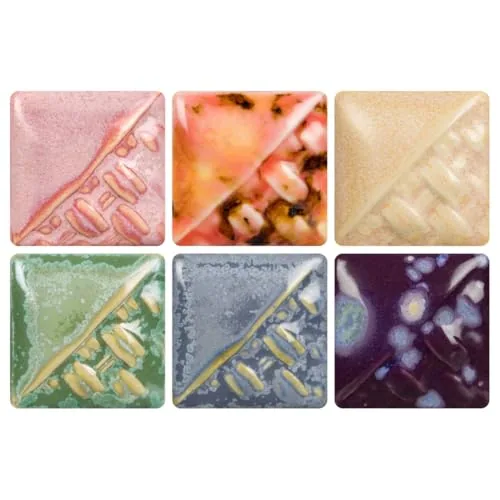
Mayco Stoneware Glaze Kit #4, 6 Pints
- Firing range
- Cone 5/6-10
- Size
- 16 oz. (473 mL) jars
- Count
- 6
Best for Cone 6 potters building a palette
Pouring
Pouring works for insides and for pieces too big to dip. Hold the pot over a bucket on sticks and pour in a steady stream as you turn it.
Underglaze and clear
Underglazes are colored slips for painting detail, usually on greenware or bisque, then covered with a clear glaze. AMACO’s Velvet listing, for example, says it is not for food contact unless covered with a glaze tested for lead and cadmium release. See underglaze vs glaze.
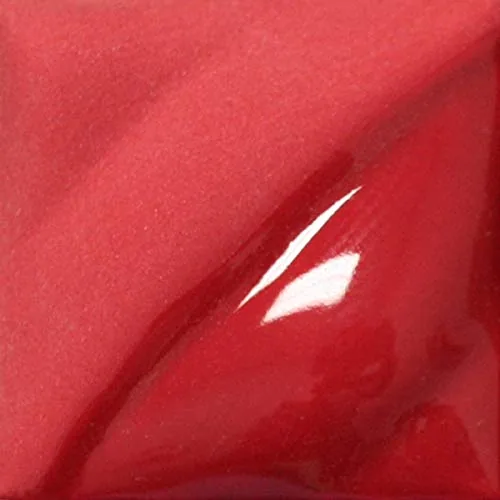
AMACO Velvet Underglaze V-387 Bright Red, Pint
- Size
- Pint
- Finish
- Opaque
Best for Bright red decoration
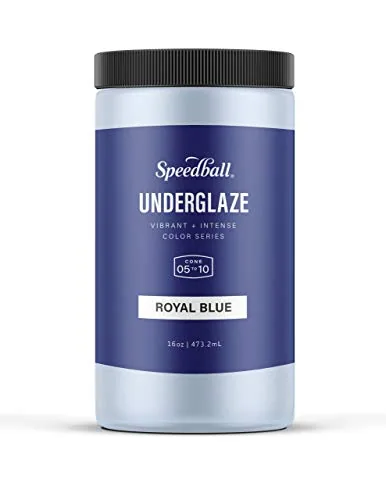
Speedball Underglaze Royal Blue, 16 oz
- Firing range
- Cone 06-6, can be fired at Cone 10
- Size
- 16 oz
- Finish
- Opaque
Best for Painted decoration
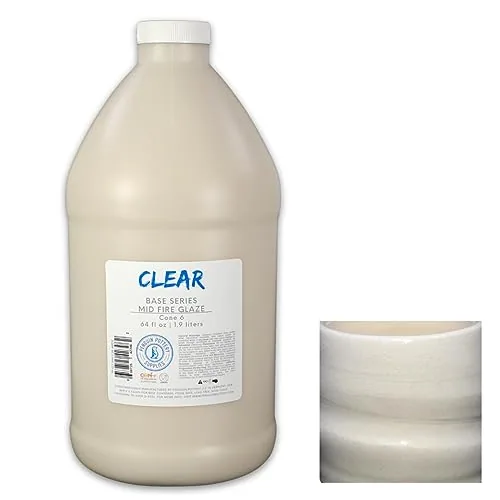
Penguin Pottery Glossy Clear Cone 5-6, 64 oz
- Firing range
- Cone 5-6 (about 2167-2232°F)
- Size
- 64 Fl Oz
- Finish
- Glossy clear, zinc-free
Best for Potters who use a lot of clear
What “food-safe” on a glaze label actually means
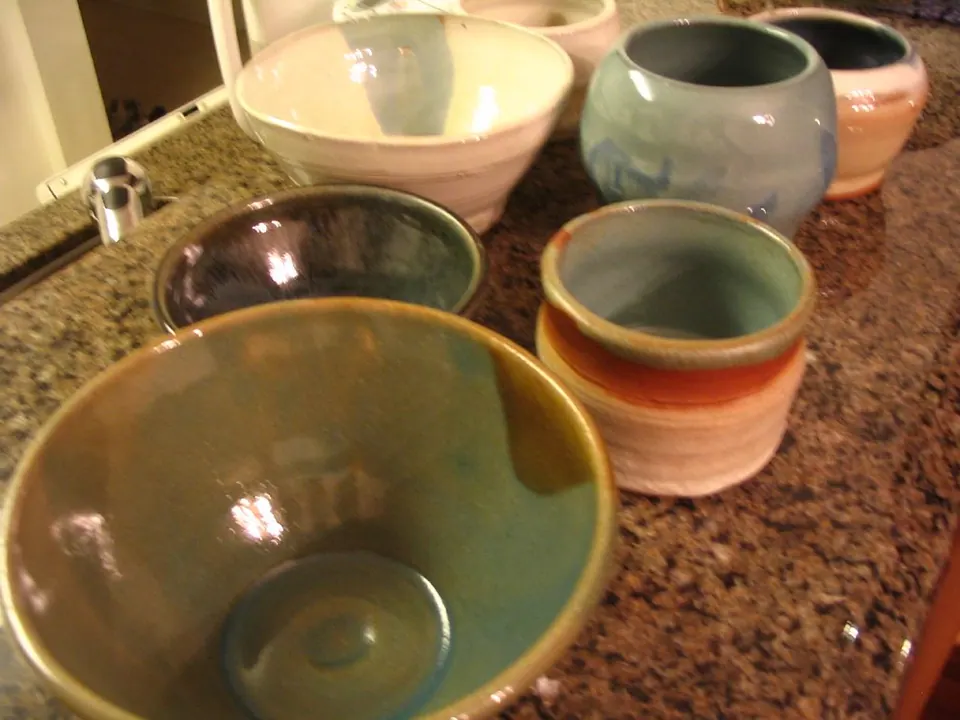
Food safety depends on the whole system: the glaze recipe, the clay, the application thickness and, above all, firing to the right cone. A glaze that is stable when fully fired can leach metals if it is underfired, applied over an incompatible clay, or crazed.
- Mayco’s Stroke & Coat kit lists “food-safe and dinnerware-safe when fired according to manufacturer directions”.
- Penguin Pottery’s cone 5–6 clear lists “suitable for surfaces that come into contact with food or drink when fired to the specified cone”.
- Sax’s natural clear lists “dinnerware safe when fired to cone 06-05”.
- Penguin Pottery’s raku set lists “not for surfaces that come into contact with food or drink”, and Mayco’s Jungle Gems set lists “do not use for dinnerware”.
The best food-safe glazes roundup and the food-safe hub list glazes whose makers state dinnerware safety.
Glaze safety in a home studio
Ready-mixed liquid glazes are the low-dust option. Mixing your own from dry materials, sanding glazed bisque or scraping dried drips all release fine dust that can contain crystalline silica. OSHA’s exposure limit for respirable crystalline silica is 50 µg/m³ over an 8-hour average.
- Weigh and mix dry materials wearing a fitted respirator with P100 filters.
- Wipe spills wet; do not sweep or blow dried glaze.
- Keep glazing away from food prep and eating areas, and wash hands afterward.
- Read each glaze’s label and safety information; some colorants carry their own warnings.
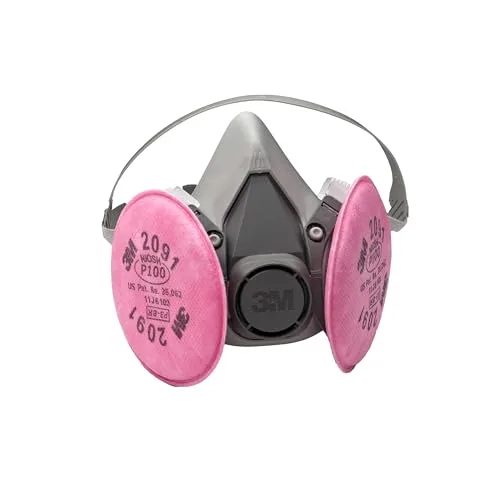
3M 6291 Half Mask Kit w/ P100 Filters, Medium
- Filter rating
- P100
- Size
- Medium
- Includes
- Half facepiece + 2091 P100 filters
Best for A first respirator for dusty tasks

Klein Tools 60552 P100 Half-Mask Respirator, M/L
- Filter rating
- P100
- Size
- M/L
- Filters
- Replaceable
Best for A low-profile reusable mask
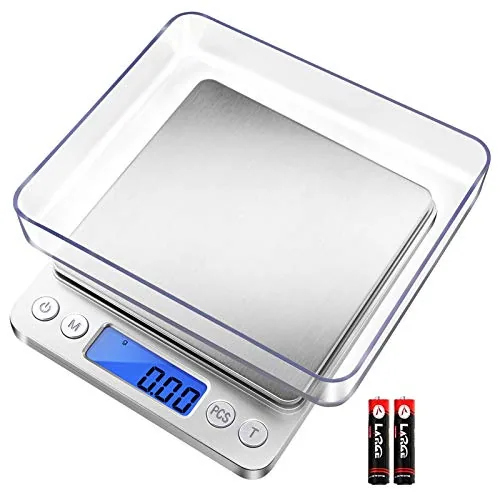
Fuzion 0.01 g Digital Gram Scale, 500 g
- Capacity
- 500g
- Resolution
- 0.01g
- Includes
- 2 plastic trays
Best for Glaze tests and colorants
More in pottery studio safety.
Which glaze should you start with?
- Firing at a cone 6 studio: a cone 5–6 set plus one clear liner glaze the maker lists as food-safe when fired as directed. A set lets you learn how colors break over texture.
- Low-fire or classroom kiln: a cone 06–05 brushing set and a low-fire clear. Brushing glazes suit small batches because you only open the jar you need.
- Mostly decorative work: underglazes under a clear give you painterly control; raku and crystal glazes look dramatic but are labeled not for dinnerware.
- Making a dinnerware set to sell: keep the glaze list short, test every combination on your own clay, and budget for leach testing.
Make test tiles before glazing a whole kiln load. A vertical tile with a textured face shows how a glaze pools, breaks and runs at your firing, which a printed swatch cannot.
Mistakes to avoid
- Glazing dusty or greasy bisque, which leads to crawling.
- Not stirring enough. Settled glaze means the top of the jar is thinner than the bottom.
- Applying too thick. Thick glaze runs and crawls; thin glaze can look dry.
- Glaze on the foot. It sticks to the shelf.
- Wrong cone. A cone 06 glaze in a cone 6 kiln can run off the pot.
- Assuming “non-toxic” means food-safe. They are different claims.
If something goes wrong, the glaze defects guide matches each fault to its cause.
Orton cone temperature chartOrton self-supporting cone temperatures for cones 022 to 10 at slow, medium and fast heating rates, in °F…Home studio checklist by stageAn interactive home pottery studio checklist in four stages: no-kiln start, first wheel, home kiln and small…