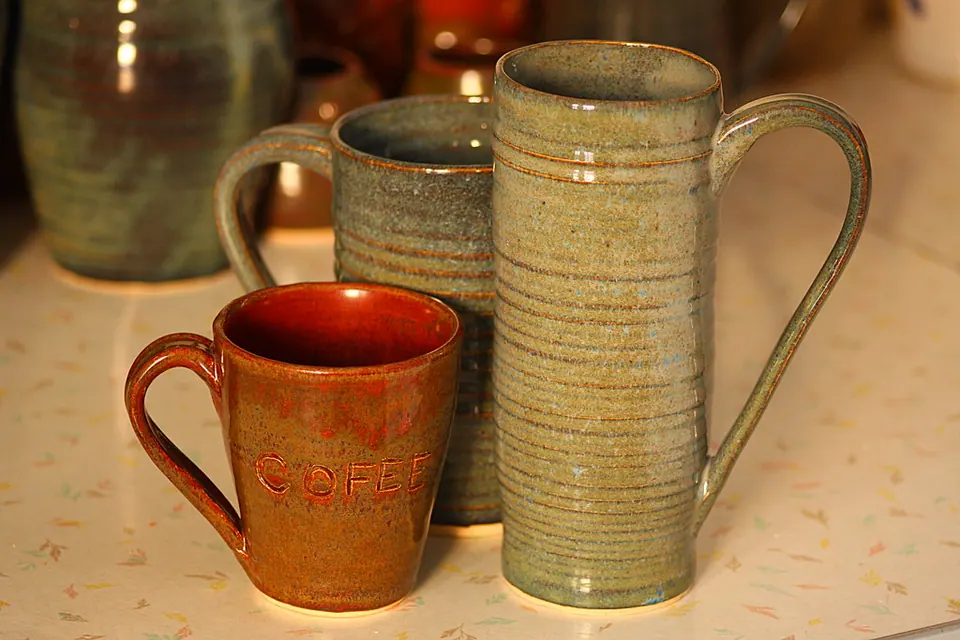
- Throw a straight-walled cylinder with an even wall and a bottom roughly as thick as the wall.
- Size for shrinkage. Clay shrinks as it dries and fires, so throw larger than the mug you want. At 12% shrinkage, a 100 mm finished height needs about 114 mm wet.
- Trim the foot at leather-hard, then attach a pulled or extruded handle at the same dryness, scoring and slipping both surfaces.
- Dry slowly under plastic, bisque fire, then glaze with a glaze that its maker lists as food-safe when fired as directed.
- Leave the foot ring and the bottom ¼ inch unglazed or waxed so glaze does not fuse the mug to the kiln shelf.
Learning how to make a mug on the pottery wheel pulls together every basic throwing skill. You center the clay, open it, pull a cylinder, trim a foot, add a handle and glaze it for daily use. It is also a project you can repeat until your mugs match.
This guide walks through each stage in order, with the tools that help, the sizing math for shrinkage and the mistakes that cause cracked handles and wobbly rims. It assumes you can already center a small amount of clay; if not, start with how to use a pottery wheel.
What you need to make a mug
You need a wheel, a stoneware clay that matches the cone your kiln or firing service uses, a few basic tools and a glaze. A cone 6 stoneware is the most common choice for home and studio potters in the US.
- Clay: a smooth, mid-fire stoneware such as a cone 6 B-Mix or white stoneware.
- Wheel and bats: throwing on a bat lets you lift the mug off without distorting it.
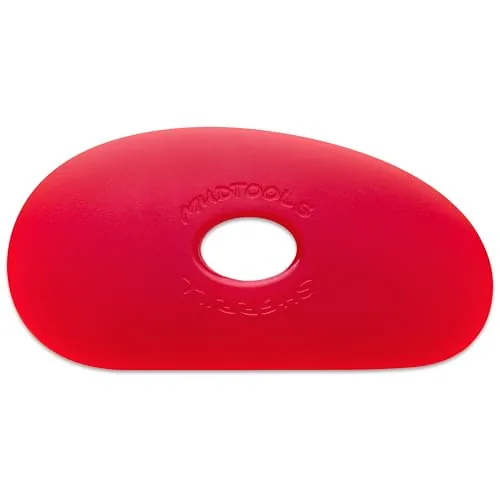
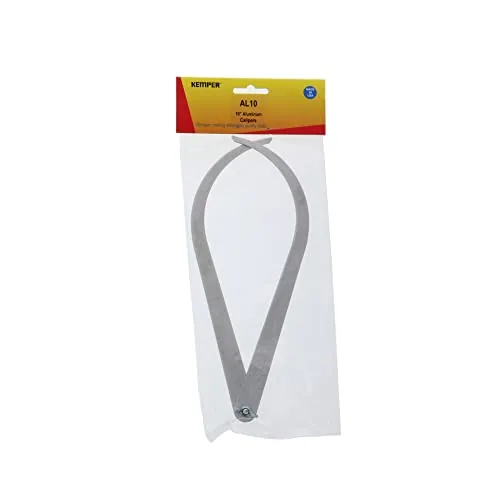
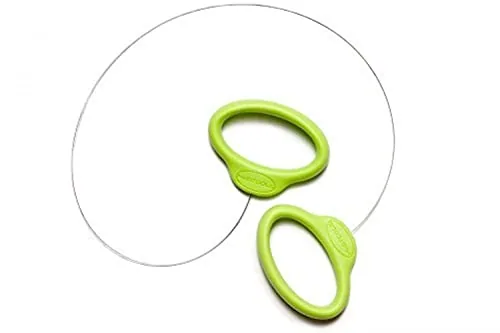
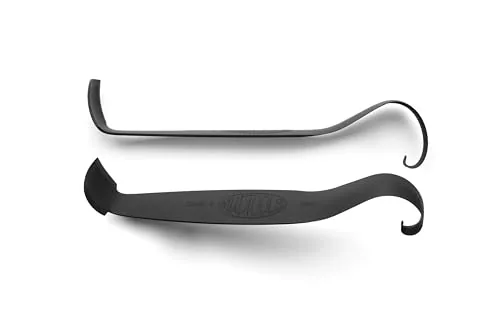
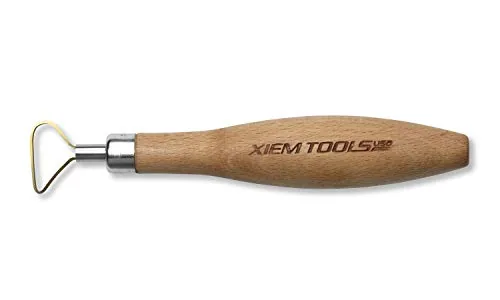
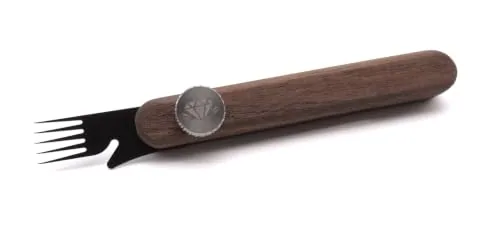
- Tools: sponge, soft rib, needle tool, cut-off wire, calipers, trimming tool, scoring tool.
- Handle tools: your hands for pulling, or a handheld extruder for a consistent strap.
- Glaze: one listed as food-safe by its maker at your cone, plus wax resist for the foot.
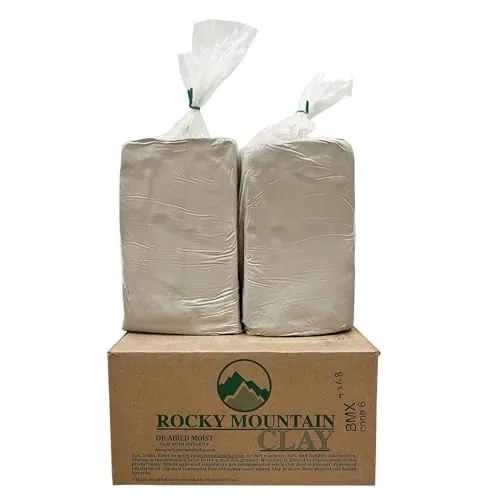
Rocky Mountain Clay B-Mix Cone 6 Stoneware, 50 lb
- Clay body
- Smooth white mid fire stoneware (B-Mix)
- Firing range
- Mid Fire Cone 6
- Weight
- 50lb
Best for Cone 6 wheel throwing
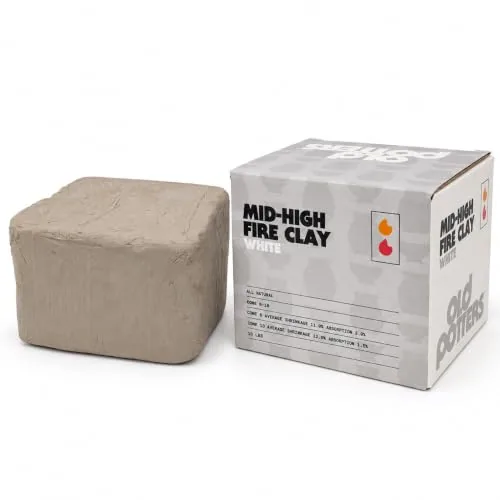
Old Potters White Stoneware Clay, Cone 6-10, 10 lb
- Clay body
- White Stoneware
- Firing range
- Cone 6-10
- Weight
- 10 lb
Best for Stoneware in a smaller quantity

AMACO A-Mix Stoneware Clay No. 11, 50 lb, White
- Clay body
- Stoneware, No. 11 A-Mix
- Weight
- 50 Pounds
- Color
- White
Best for Stocking a home studio
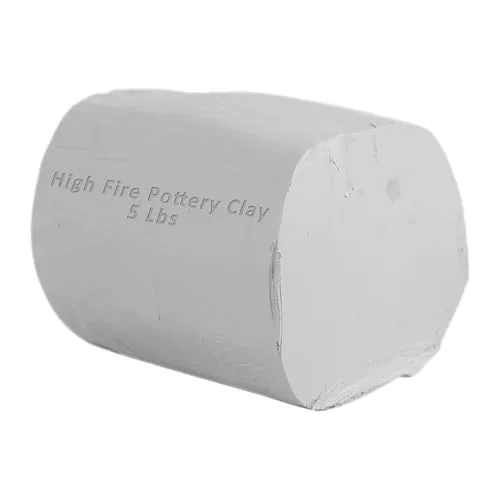
TORISING Mid-High Fire White Clay, Cone 6-10, 5 lb
- Clay body
- Mid to high fire white
- Firing range
- Cone 6-10
- Weight
- 5 Lbs
Best for Testing a cone 6 clay in small amounts
| Product | Clay body | Firing range | Weight |
|---|---|---|---|
| Rocky Mountain Clay B-Mix Cone 6 Stoneware, 50 lb | Smooth white mid fire stoneware (B-Mix) | Mid Fire Cone 6 | 50lb |
| Old Potters White Stoneware Clay, Cone 6-10, 10 lb | White Stoneware | Cone 6-10 | 10 lb |
| AMACO A-Mix Stoneware Clay No. 11, 50 lb, White | Stoneware, No. 11 A-Mix | — | 50 Pounds |
| TORISING Mid-High Fire White Clay, Cone 6-10, 5 lb | Mid to high fire white | Cone 6-10 | 5 Lbs |
Specs as listed by the maker or seller; check the listing before you buy.
AMACO's A-Mix listing gives the clay body but not the cone in our catalogue data, so check the bag or AMACO's data sheet. For a full tool rundown, see the best pottery tool kits.
How big should you throw a mug?
Clay shrinks as it dries and again as it fires. Mid-fire stoneware typically shrinks somewhere around 10 to 13% from wet to finished, but every clay is different, and the maker's data sheet or your own test bar gives the real figure. To hit a finished size, divide the size you want by (1 − shrinkage).
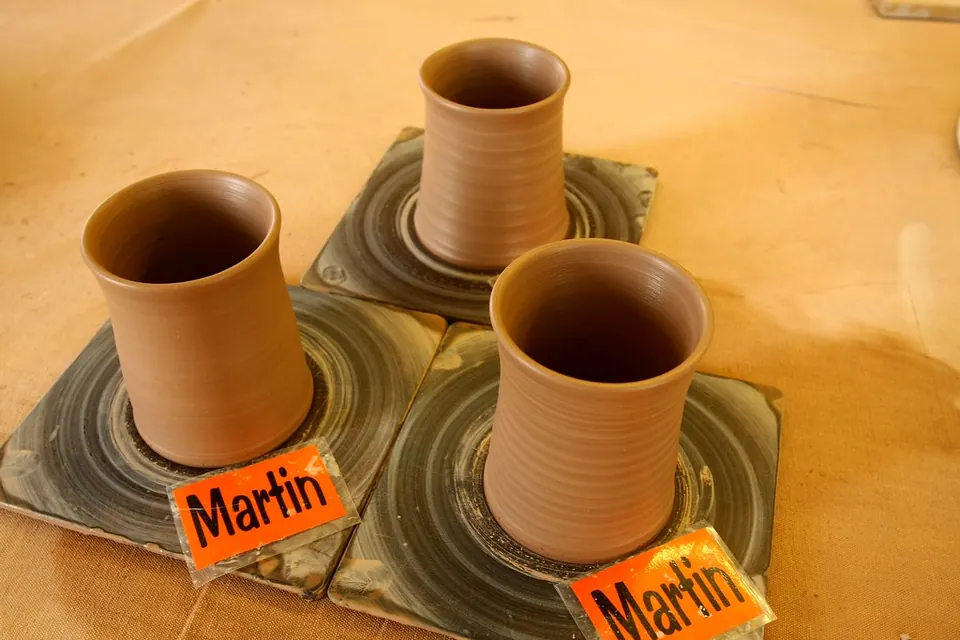
Wet height needed for a 100 mm finished mug
Example math at four shrinkage rates: wet size = finished size ÷ (1 − shrinkage). Use your clay's own figure.
The same applies to diameter and to how much a mug holds. Because volume shrinks in three dimensions, a mug that holds 12 oz when wet will hold noticeably less when fired. Throw a few test mugs, measure them wet and fired, and note the numbers for next time.
Clay shrinkage calculatorEnter your clay's shrinkage and the finished size you want to get the wet size to throw.Use calipers to make the rim of every mug in a set the same width, and a throwing gauge or a ruler to match heights.
How to make a mug step by step
Work through the stages over two or three days. The clay needs time to firm up between throwing, trimming and handling.
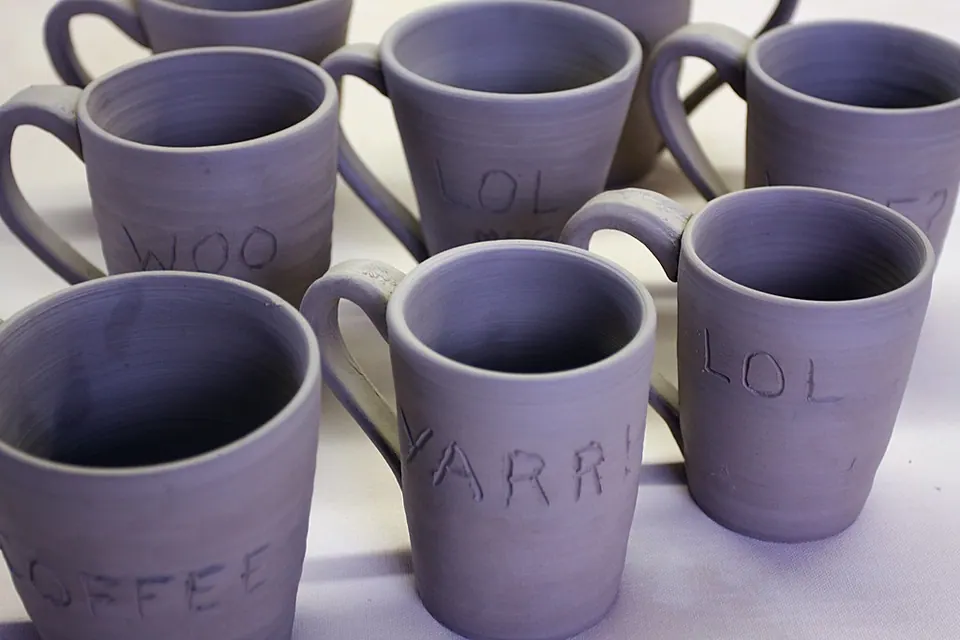
- Wedge and weigh the clay
Wedge the clay until it is free of air pockets and even in texture. Weigh each ball so a set of mugs comes out the same size; many beginners start with about a pound and adjust. A kitchen scale is fine for this.
- Center on a bat
Attach a bat to the wheel head, slap the clay ball down near the middle and center it with wet hands and firm, steady pressure. Coning the clay up and down once or twice helps align the particles.
- Open and set the floor
Press your thumbs or fingers down the center, stopping about ¼ to ⅜ inch from the bat. Check with a needle tool pushed straight down. Pull the floor out to the inner width you want, then compress it with a finger or a rib to help prevent S-cracks.
- Pull a cylinder
With the wheel at medium speed, pinch the clay at the base between your fingers and lift slowly to the top. Make three or four pulls rather than one big one. Aim for a straight wall of even thickness from bottom to top. Sponge out water that pools on the floor between pulls.
- Shape and finish the rim
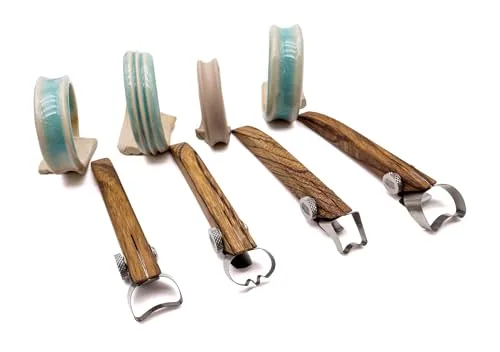
Use a soft rib inside and out to straighten the wall and remove throwing lines, or leave them for texture. Compress and round the rim with a damp chamois or a folded strip of plastic so it is comfortable to drink from. Check the rim width with calipers.
- Cut and set aside
Run a wire under the mug while the wheel turns slowly, lift the bat off and set it somewhere draft-free. Cover loosely with plastic so the mug firms up evenly.
- Trim the foot at leather-hard
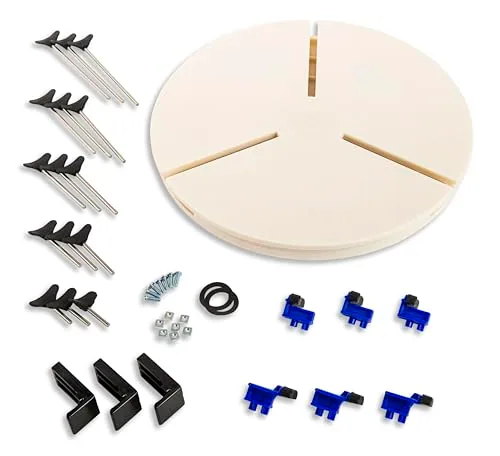
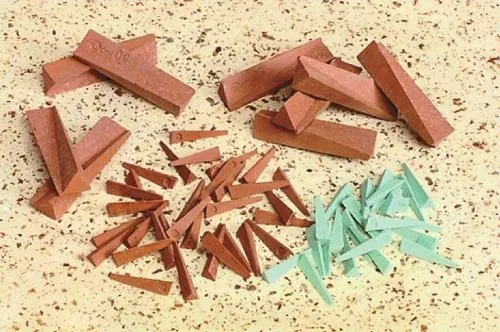
When the mug is firm enough to hold its shape but still cool and slightly damp, flip it onto the wheel head, center it and secure it with clay lugs or a trimming chuck. Trim away the extra clay at the base to form a neat foot ring. Tap the bottom: a hollow, even sound means the floor is close to the wall thickness.
- Make the handle
Pull a handle from a carrot-shaped lump of clay with a wet hand, or cut a strap with a handheld extruder. Let it firm up until it bends without cracking. Shape it into a curve that fits two or three fingers.
- Attach the handle
Mark where the handle meets the mug. Score both the mug and the handle ends, add slip and press firmly. Blend the joins with a finger or a small tool. The mug and handle should be at a similar dryness so they shrink together.
- Dry slowly
Cover the mug with plastic for a day or two so the handle and body even out, then uncover it gradually. Fast drying is the main cause of cracks where the handle meets the body. See why pottery cracks.
- Bisque fire
Once the mug is bone dry, bisque fire it. Bisque is often fired around cone 06 to 04; your studio or kiln manual will name its schedule. See bisque vs glaze firing.
- Glaze and glaze fire
Wax the foot and the bottom ¼ inch, then dip or brush the glaze evenly inside and out. Fire to the cone the glaze and clay are rated for. Watch the kiln with witness cones if you fire at home.


Glazing a mug for food and drink
A mug touches your mouth and holds hot, sometimes acidic drinks, so glaze choice matters more than on a vase. Pick a glaze that its maker lists as food-safe when fired as directed, and fire it to the cone the label states.
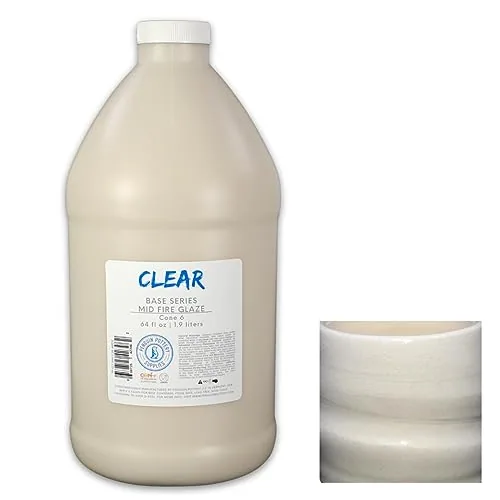
Penguin Pottery Glossy Clear Cone 5-6, 64 oz
- Firing range
- Cone 5-6 (about 2167-2232°F)
- Size
- 64 Fl Oz
- Finish
- Glossy clear, zinc-free
Best for Potters who use a lot of clear
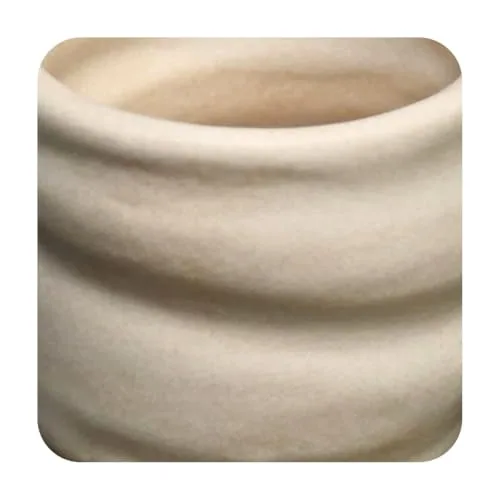
Penguin Pottery Off White Matte Cone 5-6, 16 oz
- Firing range
- Cone 5-6 (about 2167-2232°F)
- Size
- 16 Fl Oz
- Finish
- Matte, opaque
Best for Neutral matte mugs and bowls
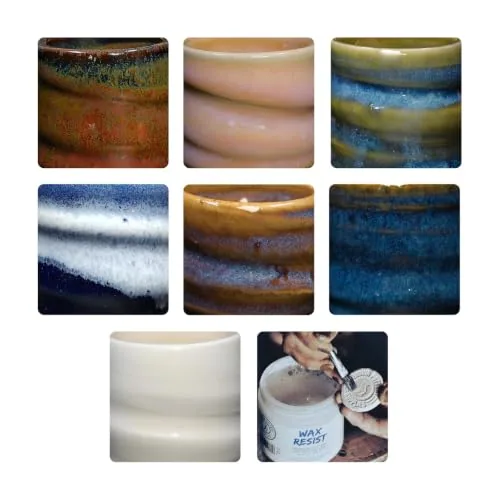
Penguin Pottery Specialty Series Glaze Set #1, 8 x 4 oz
- Firing range
- Cone 5-6 (about 2167-2232°F)
- Size
- 4 fl oz jars
- Count
- 7 glazes plus wax resist
Best for Trying mid-fire glazes
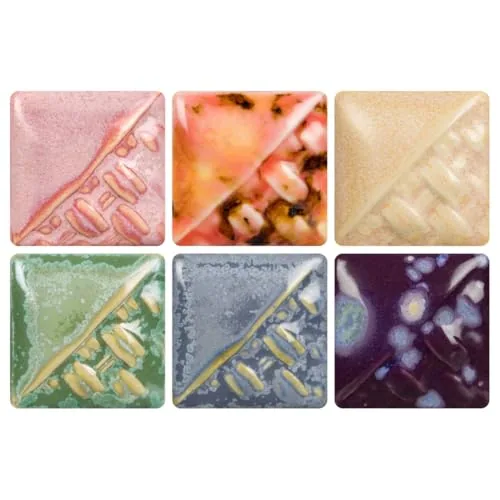
Mayco Stoneware Glaze Kit #4, 6 Pints
- Firing range
- Cone 5/6-10
- Size
- 16 oz. (473 mL) jars
- Count
- 6
Best for Cone 6 potters building a palette
Glazes for mugs in our catalogue
| Glaze | Firing range as listed | Food-safe as stated by maker |
|---|---|---|
| Penguin Pottery Glossy Clear | Cone 5-6 | ✓ When fired to the specified cone |
| Penguin Pottery Off White Matte | Cone 5-6 | ✓ When fired to the specified cone |
| Penguin Pottery Specialty Series Set #1 | Cone 5-6 | ✓ When fired to the specified cone |
| Mayco Stoneware Glaze Kit #4 | Cone 5/6-10 | ~ Not stated in our listing data; check Mayco's label |
Source: Clay at Home catalogue, product listings
Glaze the inside first by pouring glaze in, swirling and pouring out, then dip or brush the outside. Wipe the foot clean even if you waxed it. For more, read how to glaze pottery, see the best food-safe glazes and browse the food-safe hub.
Firing temperatures for a mug
Most stoneware mugs go through two firings: a bisque firing to harden the clay and a glaze firing to melt the glaze. Orton's cone chart gives the temperatures at a medium heating rate of 108 °F per hour.
Typical mug firings (Orton cones, medium rate)
| Firing | Typical cone | Temperature |
|---|---|---|
| Bisque (common range) | Cone 06 to 04 | 1,828 °F to 1,945 °F |
| Low-fire glaze | Cone 06 to 04 | 1,828 °F to 1,945 °F |
| Mid-fire glaze (stoneware) | Cone 5 to 6 | 2,167 °F to 2,232 °F |
| High-fire glaze | Cone 10 | 2,345 °F |
Source: Orton Ceramic Foundation, cone temperature equivalents
Orton cone temperature chartSee every cone at three heating rates in °F and °C.If you fire at home, budget the power with the kiln firing cost calculator.
Common mug-making mistakes
- Thick bottoms. A floor much thicker than the walls makes a heavy mug and can crack. Check with a needle tool before you pull.
- Uneven walls. Thick at the base and thin at the top means the rim can warp. Pull from the very bottom every time.
- Attaching a wet handle to a dry mug. They shrink at different rates and crack apart. Match their dryness.
- Skipping score and slip. Pressing a handle on without scoring rarely holds through firing.
- Drying uncovered. Handles dry faster than the body. Cover the mug for the first day or two.
- Glazing the foot. Glaze on the foot fuses to the shelf. Wax and wipe.
- Forgetting shrinkage. Throw bigger than the mug you want, or it will come out small.
For more beginner gear, browse pottery wheels, the beginners hub and the best trimming tools.
Clay shrinkage calculatorConvert between wet and fired size by your clay’s shrinkage percentage, find the right scale-up factor, and…Orton cone temperature chartOrton self-supporting cone temperatures for cones 022 to 10 at slow, medium and fast heating rates, in °F…