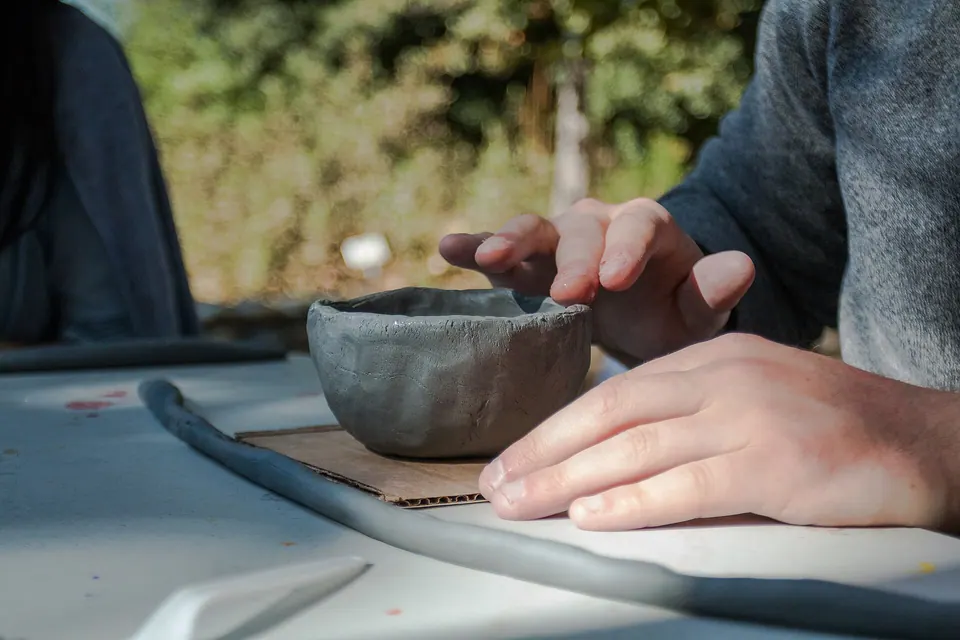
- There are four main hand-building methods: pinch, coil, slab and molds. Pinch is the best first project; slabs give the cleanest shapes.
- Every join needs score and slip: roughen both surfaces, add slip, press and blend.
- Keep walls an even thickness and dry pieces slowly under plastic to avoid cracks.
- With kiln clay, you can fire at a community studio. With air-dry or polymer clay, you skip firing entirely.
- A rolling pin, thickness guides, a banding wheel and a basic tool kit cover nearly all hand-building.
If you want to know how to make pottery without a wheel, the answer is hand-building: shaping clay with your hands and simple tools instead of on a spinning wheel head. It needs no motor, no splash pan and very little space, and it suits square, oval and sculptural forms that a wheel cannot make.
This guide covers the four core methods step by step, the tools that help, which clay to use for each route and the mistakes that cause cracks. Each method works with kiln clay or with air-dry clay, so you can start without a kiln.
Which hand-building method should you start with?
Each method suits different shapes. Most potters learn all four and mix them: a slab mug with a coil foot and a pinched handle is a normal piece.
Pinch, coil, slab and molds compared
| Method | Best for | Skill to start | Tools needed | Time per piece |
|---|---|---|---|---|
| Pinch | Small bowls, cups, ornaments | ✓ Easiest | Just hands | ~ Short |
| Coil | Vases, tall pots, planters | ~ Moderate | Hands, scoring tool, rib | ✗ Longest |
| Slab | Mugs, boxes, plates, trays | ~ Moderate | Rolling pin, guides, knife | ~ Medium |
| Hump and slump molds | Plates, bowls, matching sets | ✓ Easy | Rolling pin, mold | ✓ Short |
If you are new, start with a pinch pot to learn how clay behaves, then a slab plate on a slump mold, then a coil vase. That order goes from forgiving to more demanding.
How to make a pinch pot
A pinch pot teaches you how thick clay can be before it slumps and how it dries. It takes about 15 minutes.
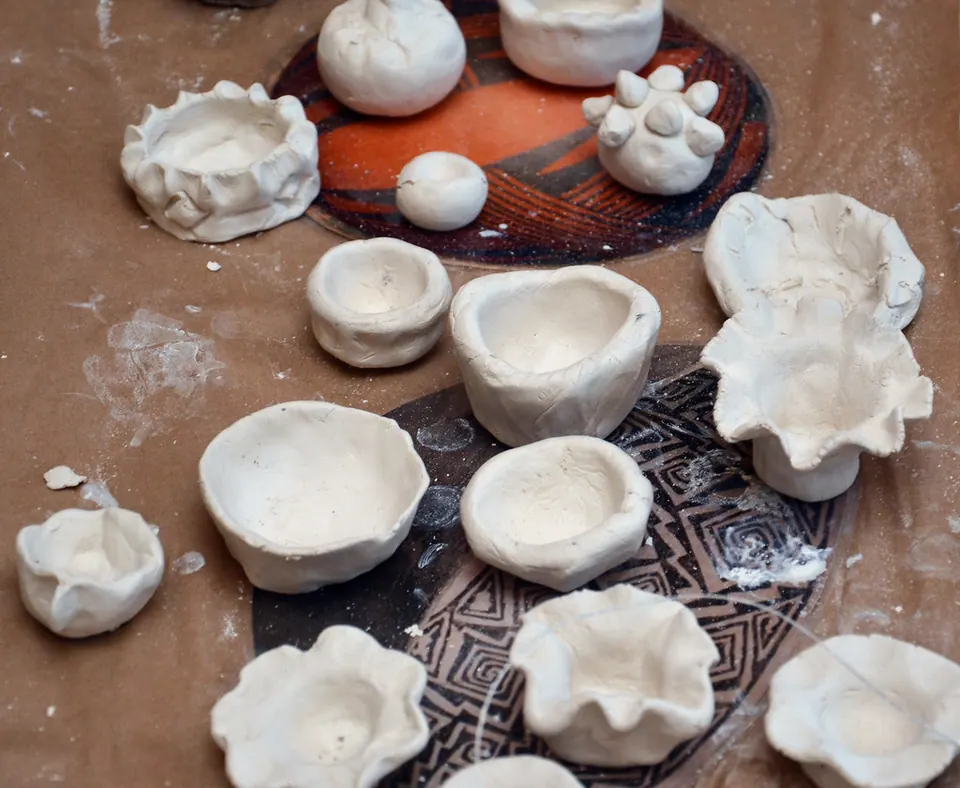
- Roll a smooth ball
Start with a ball of wedged clay about the size of a tennis ball. Roll it between your palms until there are no cracks on the surface.
- Open the ball
Hold the ball in one hand and press your thumb into the center, stopping about ¼ inch from the bottom.
- Pinch and rotate
Pinch the wall gently between thumb and fingers, turn the ball a little, and pinch again. Work from the bottom up in a spiral. Keep the wall even, about ¼ inch thick.
- Shape and smooth
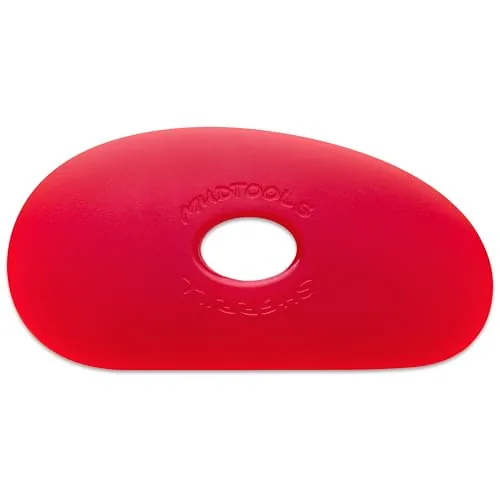
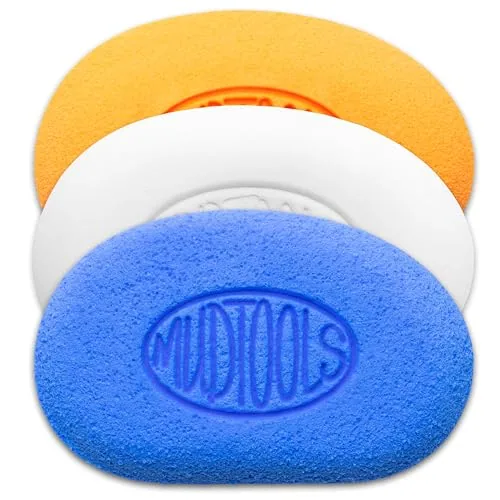
Shape the rim, then smooth the surface with a damp sponge or a soft rib. If the rim cracks, compress it with a damp finger.
- Flatten the base
Tap the pot gently on the table to make a flat base so it sits level.
How to build with coils
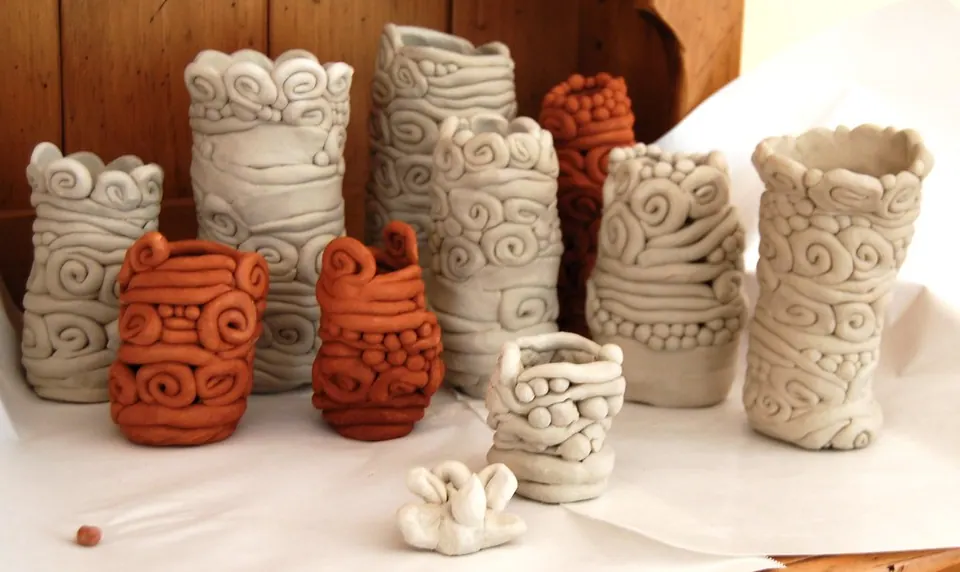
Coils let you build big forms one ring at a time. They are slow, but you can make shapes no wheel could.
- Make a base
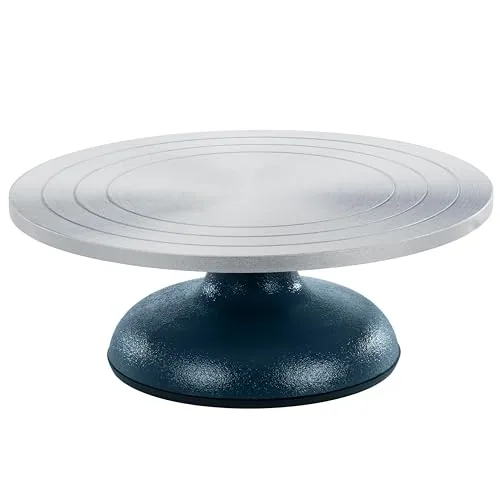
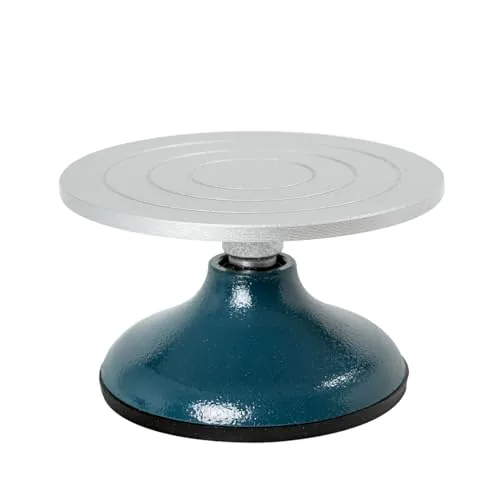
Roll a slab about ¼ inch thick and cut a circle for the base. A banding wheel underneath lets you turn the work as you build.
- Roll even coils
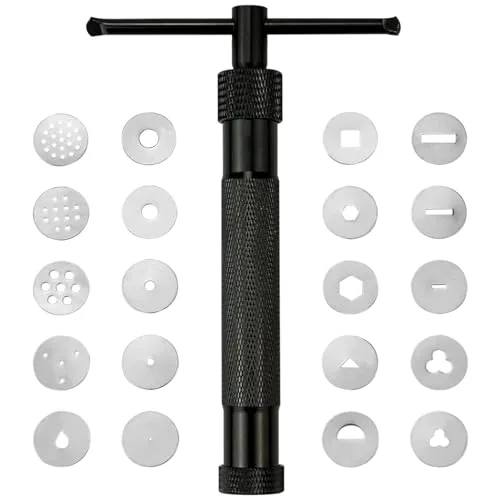
Roll clay on the table with your palms and spread fingers into a rope about as thick as your finger. Keep it even. An extruder gun makes identical coils quickly if you build a lot.
- Score, slip and stack
Score the top edge of the base and the bottom of the coil, add a little slip, and lay the coil on. Join each coil to the one below on the inside and outside by smearing clay across the seam.
- Shape as you go
Place coils slightly outward to flare the form or slightly inward to narrow it. Stop every few rows to let the lower part firm up so it can carry the weight.
- Smooth or show the coils
Scrape the outside with a serrated rib and smooth it with a soft rib for a clean surface, or leave the coils visible on the outside and blend only the inside.
How to make pottery with slabs
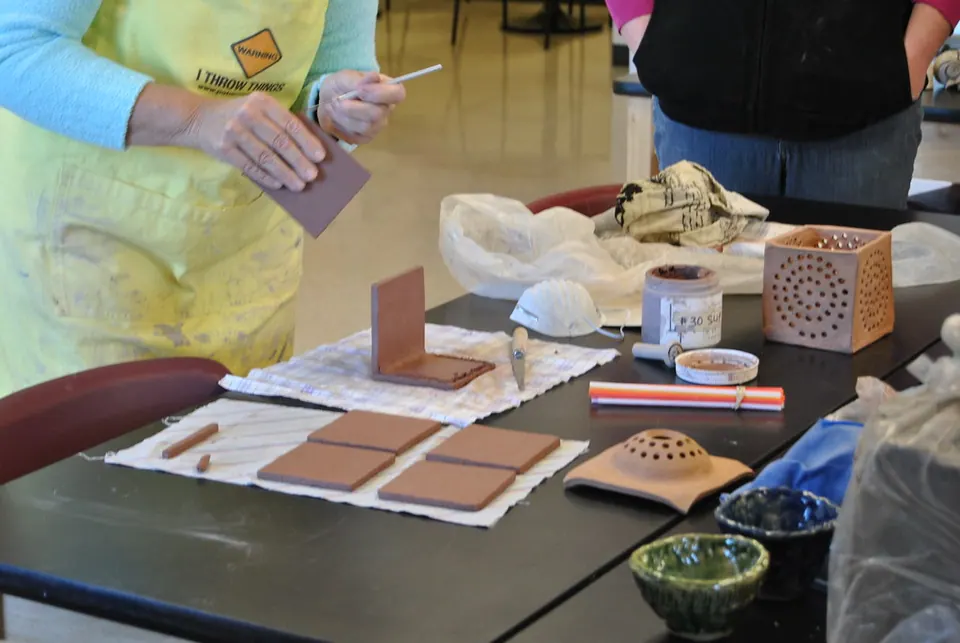
Slabs are flat sheets of clay you cut and assemble. They make clean boxes, mugs, plates and trays. Thickness guides keep every slab even, which is the key to flat, crack-free work.
- Roll an even slab
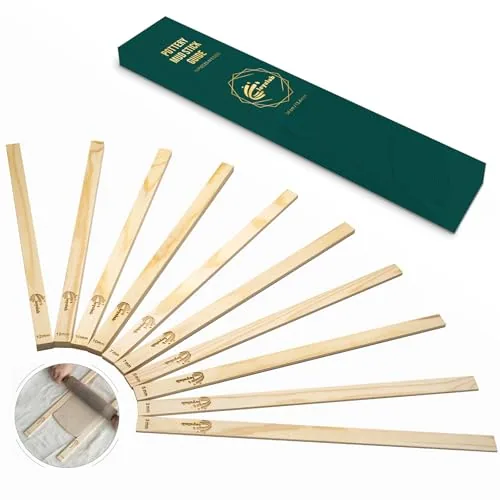
Place two thickness guides on either side of the clay and roll over them. Roll in several directions and flip the slab between passes to keep it from sticking and to align the clay. The Leyclub guides, for example, come in five thicknesses from 0.12 to 0.47 inch.
- Compress the surface
Run a rib across both sides of the slab. Compression helps reduce warping and cracking later.
- Cut with a template
Cut paper or card templates for each part, lay them on the slab and cut around them with a needle tool or knife.
- Let parts firm up
For boxes and mugs, wait until slabs are soft leather-hard so the walls stand without slumping. For plates on a mold, use the slab while it is still soft.
- Join with score and slip
Bevel the edges, score them, add slip and press them together. Add a thin coil into the inside corners and blend it for strength.
- Add texture or decoration
Roll a texture roller or stamp across the slab before cutting, so the pattern stays crisp.
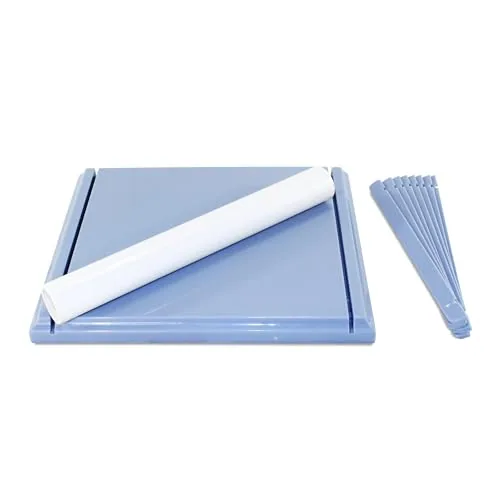
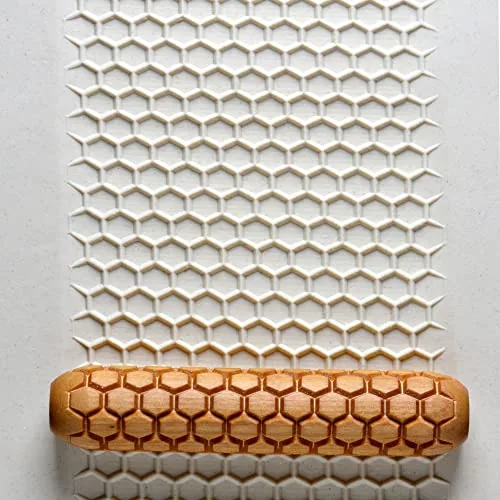
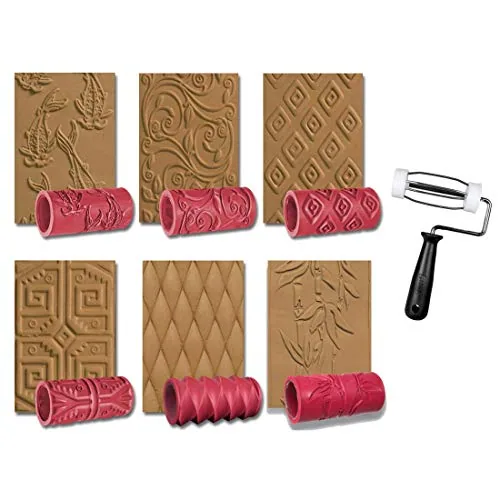
If you roll a lot of slabs, a hand-cranked slab roller saves time and arm strength. The Xiaomatoiu listing gives a 12.5-inch roller width and a 0 to 30 mm slab range. For more, see the best slab rollers.
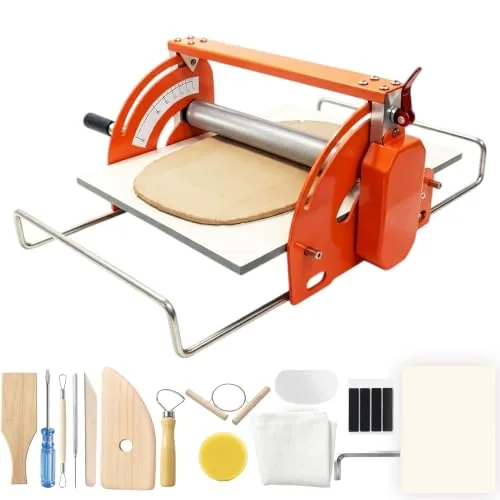
Xiaomatoiu Hand-Cranked Slab Roller, 12.5" w/ Board
- Roller width
- 12.5"
- Slab thickness
- 0-30mm
- Pieces
- 14
Best for Home studios starting slab work
Leyclub Rolling Pin Thickness Guides, 10 pc
- Pieces
- 10 (5 sizes)
- Material
- Wood
- Thickness
- 0.12"/0.2"/0.28"/0.39"/0.47"
Best for Even slabs without a slab roller
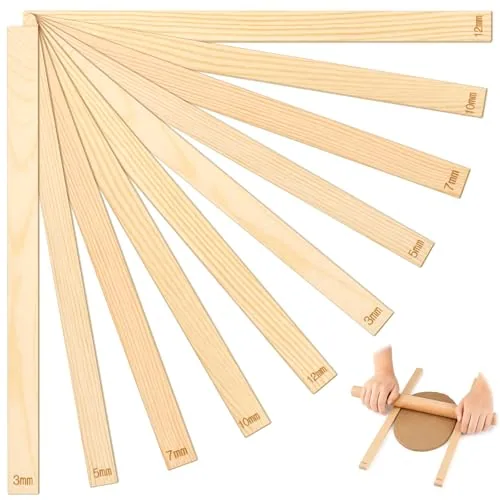
Fireboomoon Clay Slab Sticks, 10 pc, 3-12mm
- Size
- 13.4 x 0.8"
- Pieces
- 10 (5 sizes)
- Material
- Wood
Best for Consistent slab thickness
Using hump and slump molds
Molds are the fastest way to make matching plates and bowls. Drape a soft slab over a hump mold or press it into a slump mold, trim the edge and let it firm up before you lift it off. Dust the mold with cornstarch or use a thin cloth so the clay releases.
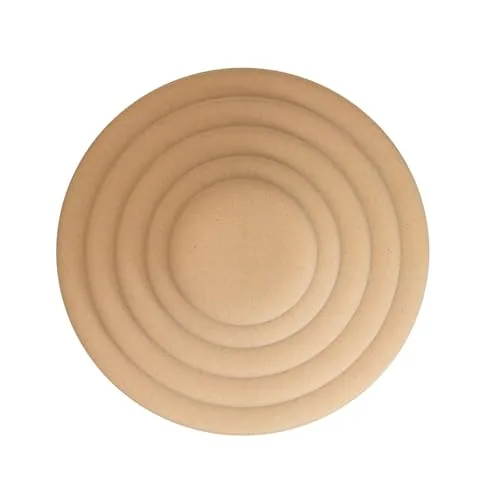
ORIISIN Round Plate Slump Molds, 5 pc
- Pieces
- 5
- Material
- MDF
- Shape
- Round
Best for Making matching plate sets
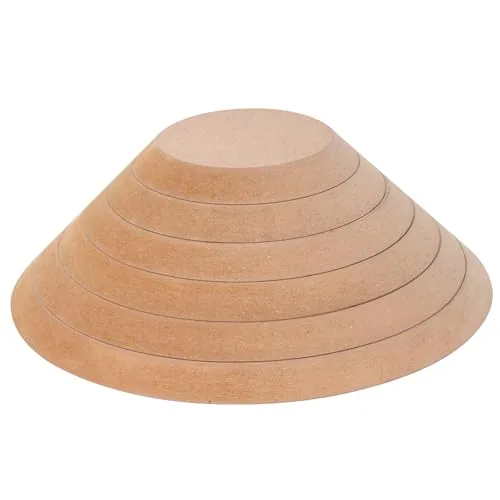
LEOLIO Round Wooden Slump Molds, 6 pc, 5-11"
- Pieces
- 6
- Material
- High-density fiberboard
- Diameter
- 5.0"-10.9"
Best for Plate sets in several sizes
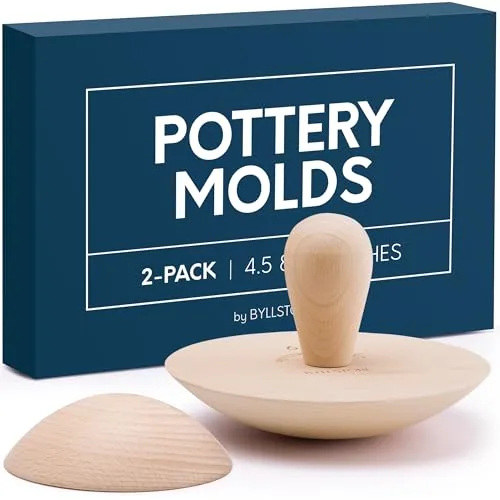
Byllstore Hump & Press Molds, 2-Pack
- Size
- 4.5" and 6.5"
- Pieces
- 2
- Handle
- Interchangeable
Best for Small bowls and plates
Which clay should you use for hand-building?
Pick a clay based on how you will finish the piece. If you can fire at a studio, use the clay they fire. If you have no kiln access, use air-dry clay and accept that pieces are decorative.
Firing temperatures for hand-building clays
Orton self-supporting cones at the medium rate (108 °F/hr). Low-fire clays in our catalogue are listed at cone 06 to 04; mid-fire stoneware at cone 6.
| Product | Clay body | Firing range | Weight |
|---|---|---|---|
| TORISING Low Fire White Pottery Clay, Cone 04-06, 5 lb | Low fire white (kaolin) | Cone 04-06 | 5Lbs |
| Old Potters Low Fire White Clay, Cones 06-04, 10 lb | Low fire white | Cones 06-04 | 10 lbs |
| Rocky Mountain Clay Red Rock Terracotta, Cone 06, 10 lb | Red terracotta, moist de-aired | Low fire cone 06 | 10 lb |
| ReArt Low Fire Pottery Clay, Cones 04-3, 5 lb | Low fire (kaolin) | Cones 04-3 | 5 pounds |
| Old Potters White Stoneware Clay, Cone 6-10, 10 lb | White Stoneware | Cone 6-10 | 10 lb |
Specs as listed by the maker or seller; check the listing before you buy.
- Low-fire clay (cone 06 to 04): fires at lower temperatures, often white or terracotta, and suits bright low-fire glazes. Good for decor and some functional ware with the right glaze.
- Mid-fire stoneware (cone 6): stronger and denser after firing, and the most common choice for mugs and dinnerware.
- Grogged clay: clay with fired, ground particles holds up better for large slab and coil pieces.
- Air-dry clay: no kiln, but it stays fragile and is not for food or water. See how to seal air-dry clay.
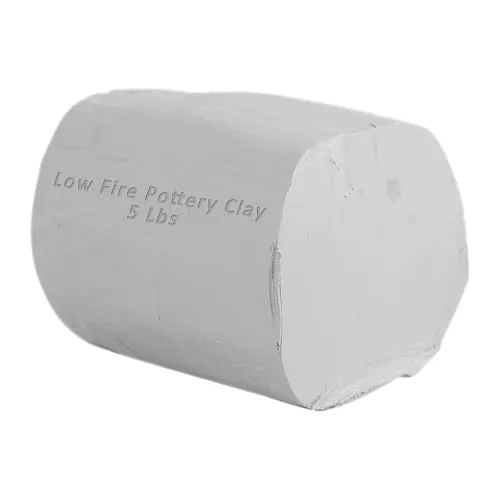
TORISING Low Fire White Pottery Clay, Cone 04-06, 5 lb
- Clay body
- Low fire white (kaolin)
- Firing range
- Cone 04-06
- Weight
- 5Lbs
Best for Trying low-fire clay before buying a box
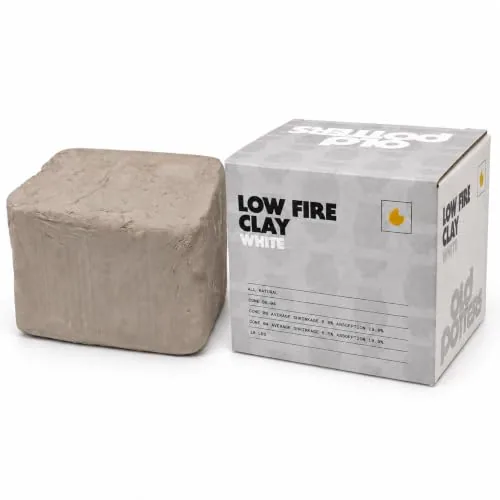
Old Potters Low Fire White Clay, Cones 06-04, 10 lb
- Clay body
- Low fire white
- Firing range
- Cones 06-04
- Weight
- 10 lbs
Best for Beginners on low-fire clay
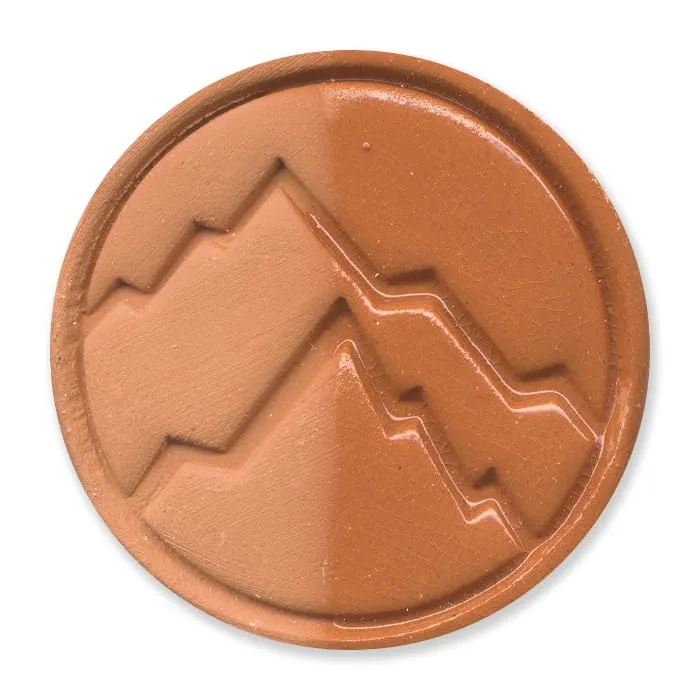
Rocky Mountain Clay Red Rock Terracotta, Cone 06, 10 lb
- Clay body
- Red terracotta, moist de-aired
- Firing range
- Low fire cone 06
- Weight
- 10 lb
Best for Red earthenware projects
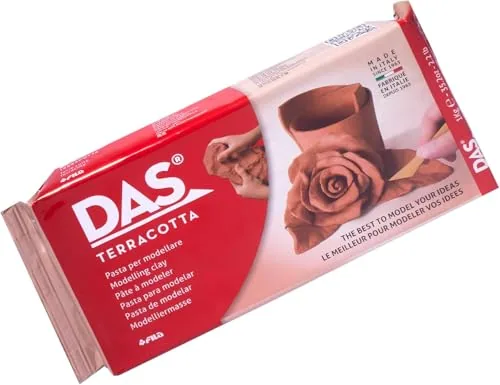
DAS Air-Hardening Modeling Clay, 2.2 lb, Terra Cotta
- Clay body
- Air-hardening
- Weight
- 2.2 lb
- Color
- Terra Cotta
Best for No-kiln sculpting
Compare clay types in stoneware vs earthenware vs porcelain and the best air-dry clay.
Tools for pottery without a wheel
You can start with a rolling pin and a butter knife. These tools make hand-building faster and cleaner:
- Starter tool kit: needle tool, wire, wooden modeling tools, loop tools and a sponge.
- Thickness guides: for even slabs every time.
- Banding wheel: for coiling, decorating and checking symmetry.
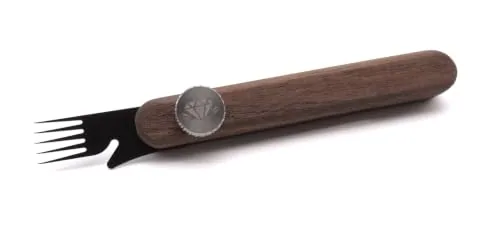
- Scoring tool: a multi-prong scorer is faster than a fork.
- Ribs: a soft rib for smoothing and a serrated rib for leveling coils.
- Wedging board or canvas: clay does not stick to canvas the way it does to a bare table.
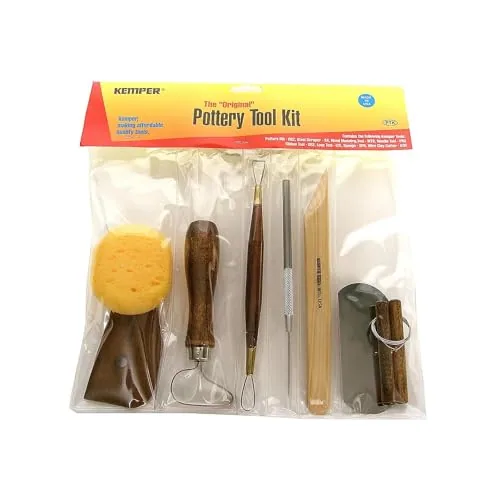
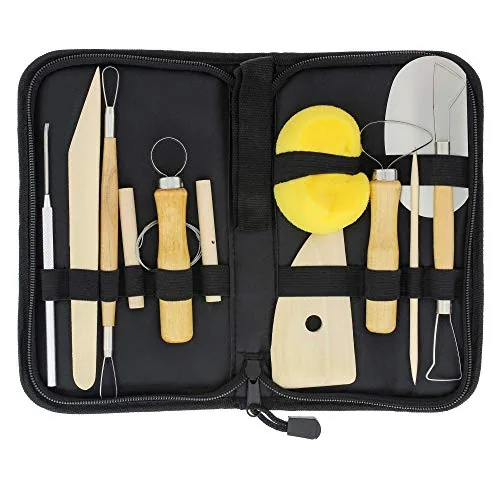
U.S. Art Supply Pottery Tool Set, 12 pc w/ Case
- Pieces
- 12
- Case
- Canvas zippered
Best for An affordable first kit
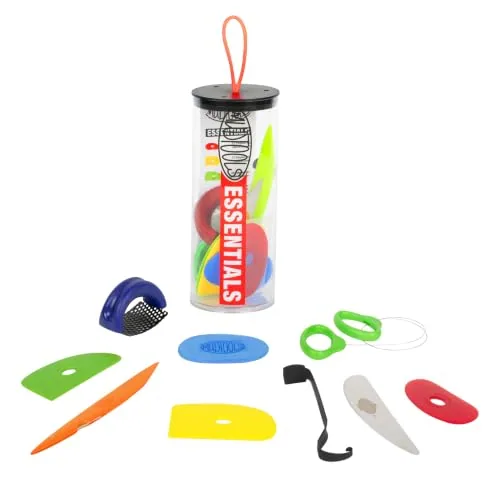
For more, see the best pottery tool kits, the best banding wheels and the hand-building category.
Drying and firing hand-built work
Hand-built pieces often have joins and different thicknesses, so they need slow, even drying. Cover them loosely with plastic for the first day or two, then uncover gradually. Turn plates and slabs over when they are firm so both sides dry.
When the work is bone dry, it can be bisque fired, glazed and glaze fired. If you do not own a kiln, a community studio can usually fire it if you use their clay or a clay at the same cone. See do you need a kiln? and bisque vs glaze firing.
Clay shrinkage calculatorWork out how big to make a piece so it comes out the size you want after firing.Common hand-building mistakes
- Skipping score and slip. Joins that are just pressed together crack in drying or firing.
- Uneven thickness. Thick and thin areas dry and shrink at different rates. Use guides.
- Trapping air. Closed forms need a small hole so air can escape in the kiln.
- Building too fast with coils. Let lower rows firm up before adding weight.
- Drying too fast. Sun, fans and heaters dry edges first and cause cracks. See why pottery cracks.
- Mixing air-dry and kiln clay. They behave differently. Air-dry clay must never go in a kiln unless its maker says it can.
Kit ideas for beginners are in the beginners hub and no-kiln pottery.
Clay shrinkage calculatorConvert between wet and fired size by your clay’s shrinkage percentage, find the right scale-up factor, and…Home studio checklist by stageAn interactive home pottery studio checklist in four stages: no-kiln start, first wheel, home kiln and small…